
This tutorial is for exporting from Sketch2React as HTML and publishing it to your own Dropbox! And it will not cost you a dime in hosting.
That got you interested right? Who wouldn’t? Use case for this workflow could be:
- You have poured your soul into and created a beautiful, fully responsive website or prototype with our tool for Sketch
- You say to yourself:
”Now what?! Do I really need to pay for hosting this? Do I even need to bother myself with learning the ins and outs of how to manage a FTP/Cloud publishing service? - I say: No my friend you don’t!
If you already have Dropbox there’s a neat solution for you called DropPages. It’s free up to 50MB of website storage so it’s perfect for just getting your designs out there. Like really fast ?
Also since your entire website is then on Dropbox, editing and updating the files is just a matter of replacing the old ones, wait for Dropbox to sync and voila – updated!
Turns out Dropbox is blazing fast. Everyone who has had the experience of hosting downloadable files on the service already knows this, but I had no idea hosting HTML, CSS and Javascript would also be hyper fast.
DropPages requires a small amount of setup, both before, inside Sketch and also after you have exported your website to HTML from Sketch2React.
No worries, it’s super easy and I’m with you all the way.
Tutorial requirements
- Sketch app 68+
- Sketch2React app 1.6.8
- Dropbox account
- DropPages account, works with the free plan
Simple demo website
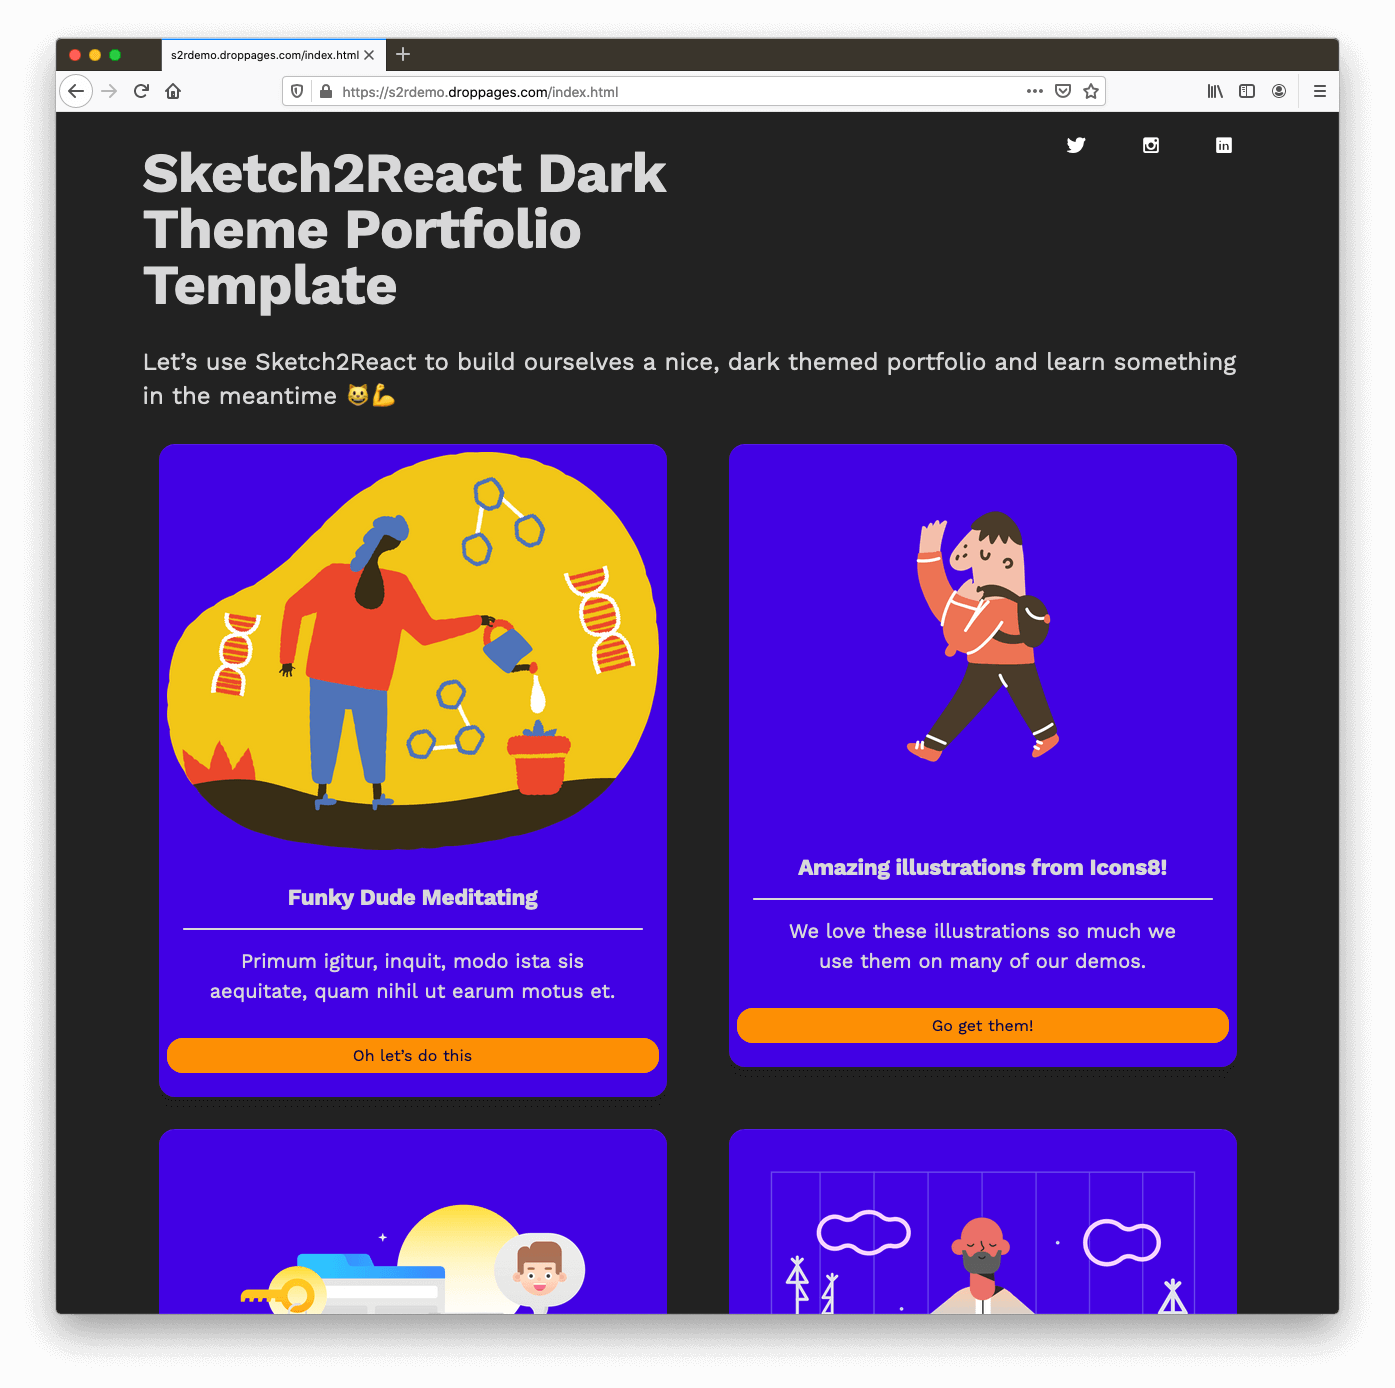
For purpose of this tutorial I created this demo website 100% made inside Sketch using Sketch2React that’s hosted on my Dropbox. Neat eh?
You can download my Sketch file from here for studying purposes
If you’re still with me let’s get cooking shall we?
Step 1 – Getting started

- Go here, sign in to Dropbox and allow DropPages to have access to your account. DropPages creates a separate folder for you called My.DropPages in the folder named Apps. No worries, everything is neatly separated from all of your other thingies.
- Press the blue Create a new site button and give it a name where you include the words droppages.com or it will not work within the limits of the free DropPages account.
yourname.droppages.com
ProTip! If you want to have a custom domain + more storage you can just sign up for a paid subscription. This tutorial assumes you just want to try this out 100% for free, like me. - Let’s look at what DropPages has created for us. We have three folders:

- Go into Content and Public and delete what DropPages has installed for you (index.txt and main.css) – we don’t need those. No worries, we’ll be replacing those files with our own, awesome Sketch2React HTML files. Templates you can totally ignore.
Step 2 – Let’s jump into Sketch! ?

I have prepared a nice little demo website in Sketch using just our simple markup. Since it’s just a demo why bother making more than two pages? Yeah exactly.
I have used components from our free Sketch2React Components library and made custom changes to them (of course, I am a designer, what else would I do all day?)
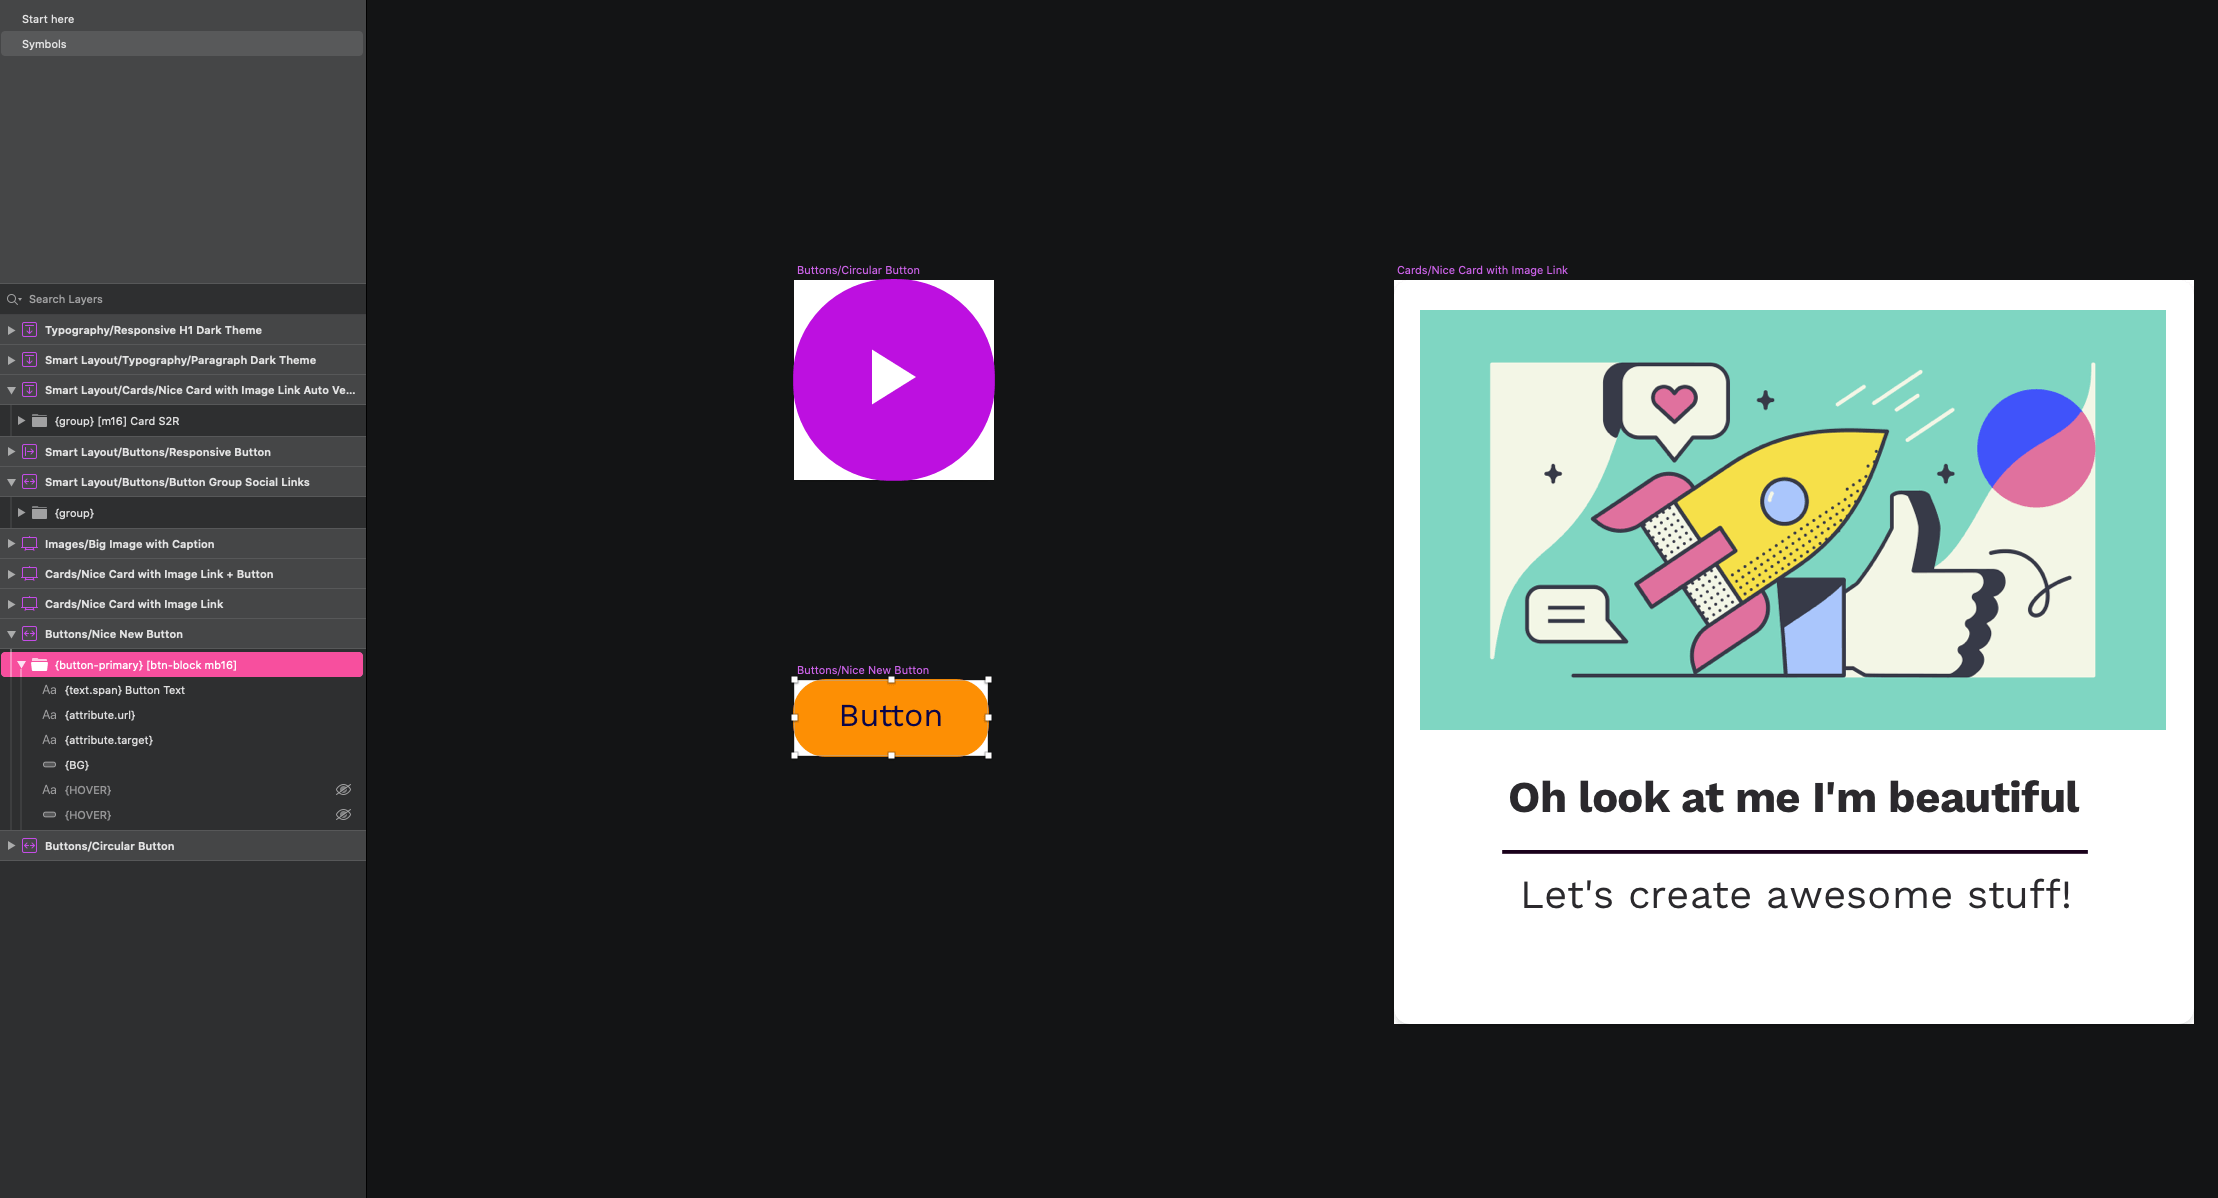
A couple of neat things I did was:
- Restyled one of our card components with a nice blue background
- Restyled our button to be full width by using a Bootstrap class called
btn-block - Used amazing free illustrations from one of my absolute favourite providers of good things, Icons8.
?
- As you can see above when using certain Bootstrap classes that manipulates the look of components you automatically inherit some default behaviours that are not overwritten by Sketch2React. To fix this I created a custom CSS:
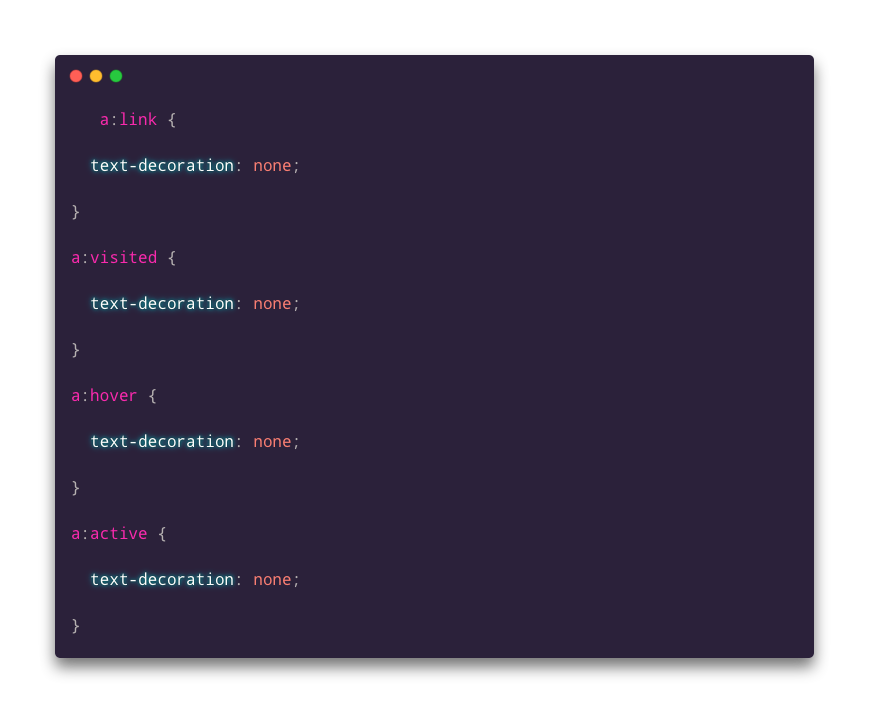
?
That achieved what I was looking for, getting rid of that ugly underline thingie in my beautiful button! The result of using a custom CSS
If you feel that code is really scary, no worries, Sketch2React works perfectly well without all these extra thingies I added, the custom CSS. Remember, I’ve been using this since before we released the first public alpha, beginning of 2018.
Rules are ment to be broken (sometimes)
This has taken a bit of trail and error to understand. Turns out one very important DropPages rule goes totally against one of Sketch2React’s most important linking rules.
Normally when designing for Sketch2React you link like this:
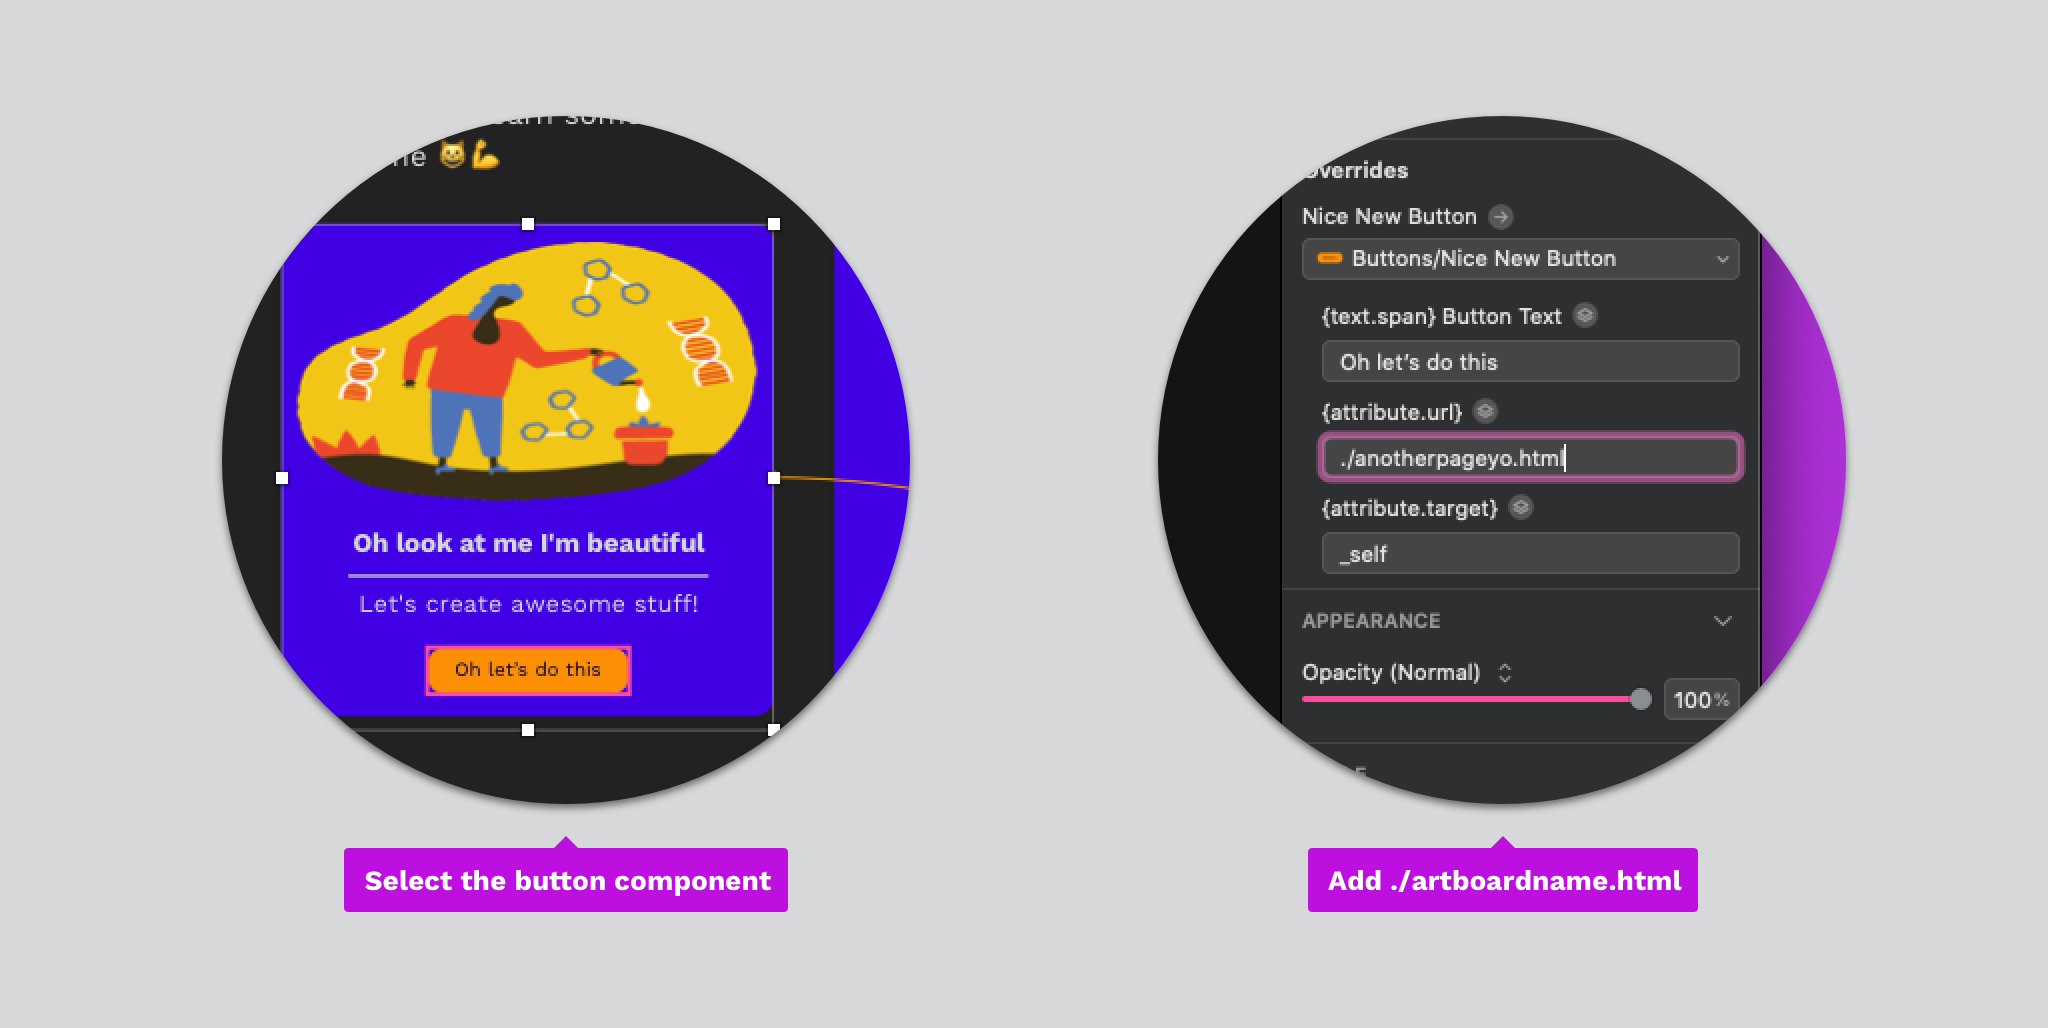
- Select one component that has a linkable property
- Use the W shortcut inside Sketch to link between that component and another page
- Add ./artboardname.html to the {attribute.url} panel inside that component, like below:
./artboardname.html
- Also all links going back to Start need to be named:
./index.html
You get it. This makes sure everything is neat and nice in our wonderful code export. It also means you can just drag and drop the entire exported folder (HTML) onto a FTP server and all the links just work.
For our React export it’s a bit different since you need to dive into the exported code to get the linking working but that’s not for this tutorial. We actually have one for that of course.
Btw React is not even supported by DropPages so let’s just … ehm drop that.
What happens?
Problem is, if you follow this and at the same time want to have a good workflow for publishing pages to Dropbox via DropPages we need to break this rule. Sometimes rules are there to be broken.
If not this error message will hit you like a brick once you try clicking on any elements linked to other pages once you have published your website (or prototype) to DropPages:
Is the URL correct? Content pages should not have an extension.
And we don’t want this to ever happen, right? This is the solution I found out works like a charm.
The fix

⚠️
DropPages specific rules for Sketch2React links
- Select one component that has a linkable property
- Use the W shortcut inside Sketch to link between that component and another page
- Add ./artboardname to the {attribute.url} panel inside that component, like below:
./artboardname
- Also all links going back to Start still need to be named:
./index.html
Pay special attention to that last rule, nr 4.
How do you then setup a workflow that both works for normal exports and DropPages specific ones? Actually since it’s only the links that need a bit of adjustment I would first design and build it with the usual workflow and then just duplicate that same Sketch file, call it something like myfilename-droppages and get on with my life.
We are designers so manual labour does not scare us, right?
Finally we’re ready to export godamnit!
Okey so if you haven’t fallen asleep by now or had a mental break down I salute you best of friend! Now comes the fun part of this tutorial, the actual exporting things out of Sketch2React, out to HTML and publishing it onto your Dropbox!
Exporting from Sketch2React to HTML
- Make sure you visit each page you have designed once – it gets added to our export bundle that way
- Press the Download ? HTML button and save it to disc
- Unzip your zip
- Voila you’re done! Now let’s upload this to Dropbox!
Uploading to Dropbox.com
What I have found be the most effective way of uploading this is to actually do this directly from your browser. The syncing is faster, specially when you start re-uploading the same files over and over again, which you probably will do since one always updates/fixes things once you see them live.
But before you do that make sure you compress your image assets, I use the excellent TinyPNG service for that. Which, in contrast to its name also supports JPGS.
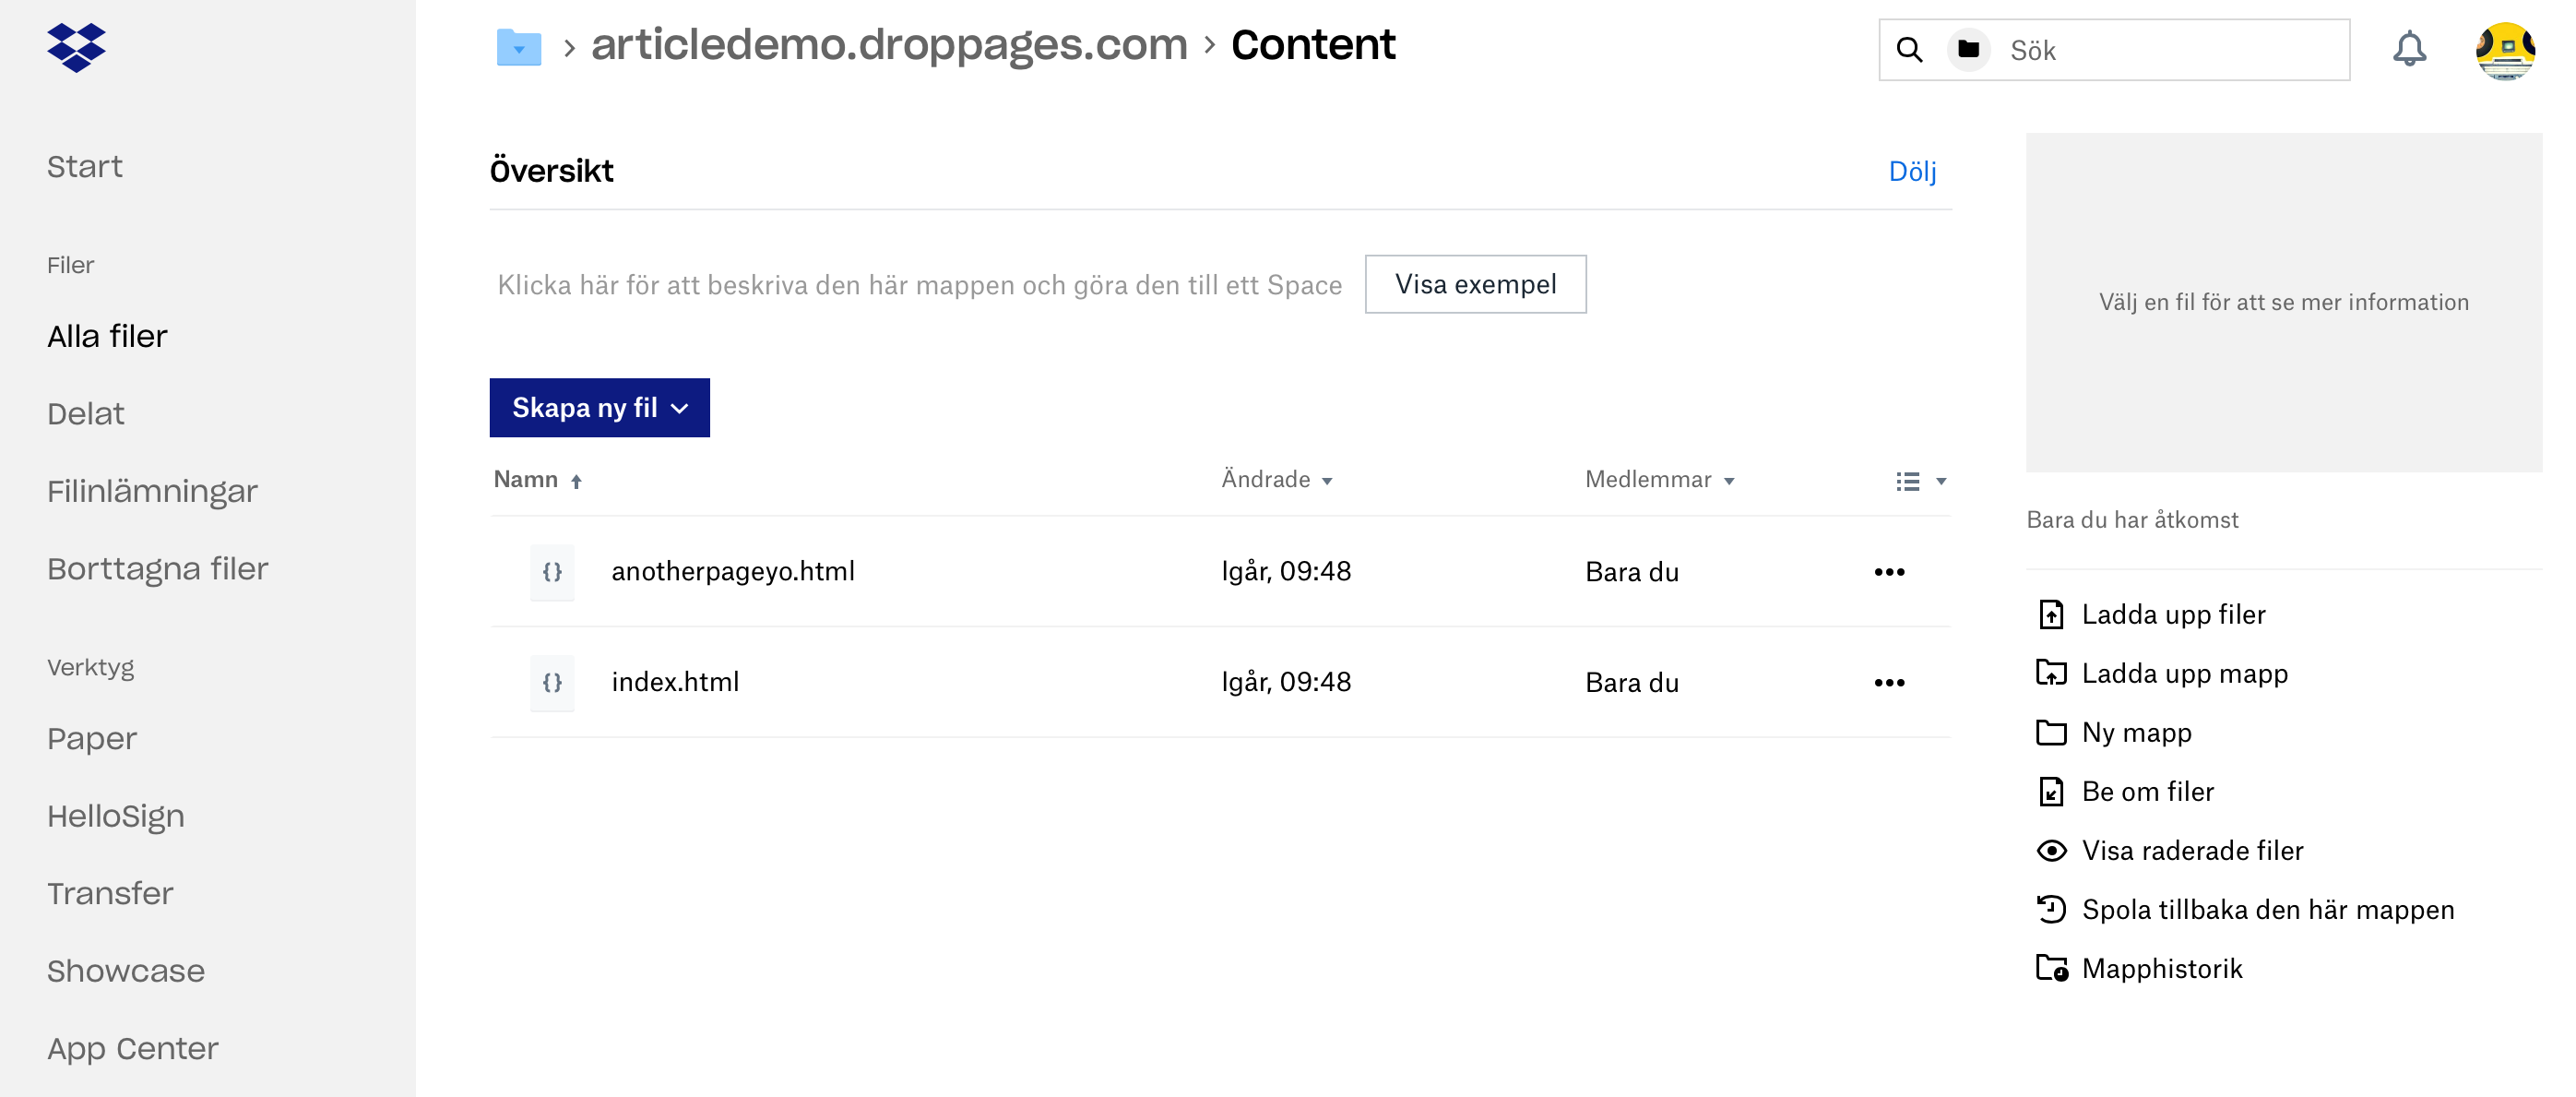
Drop these files into Content
All your HTML pages goes into the Content folder on your newly created website, mine looks like this:
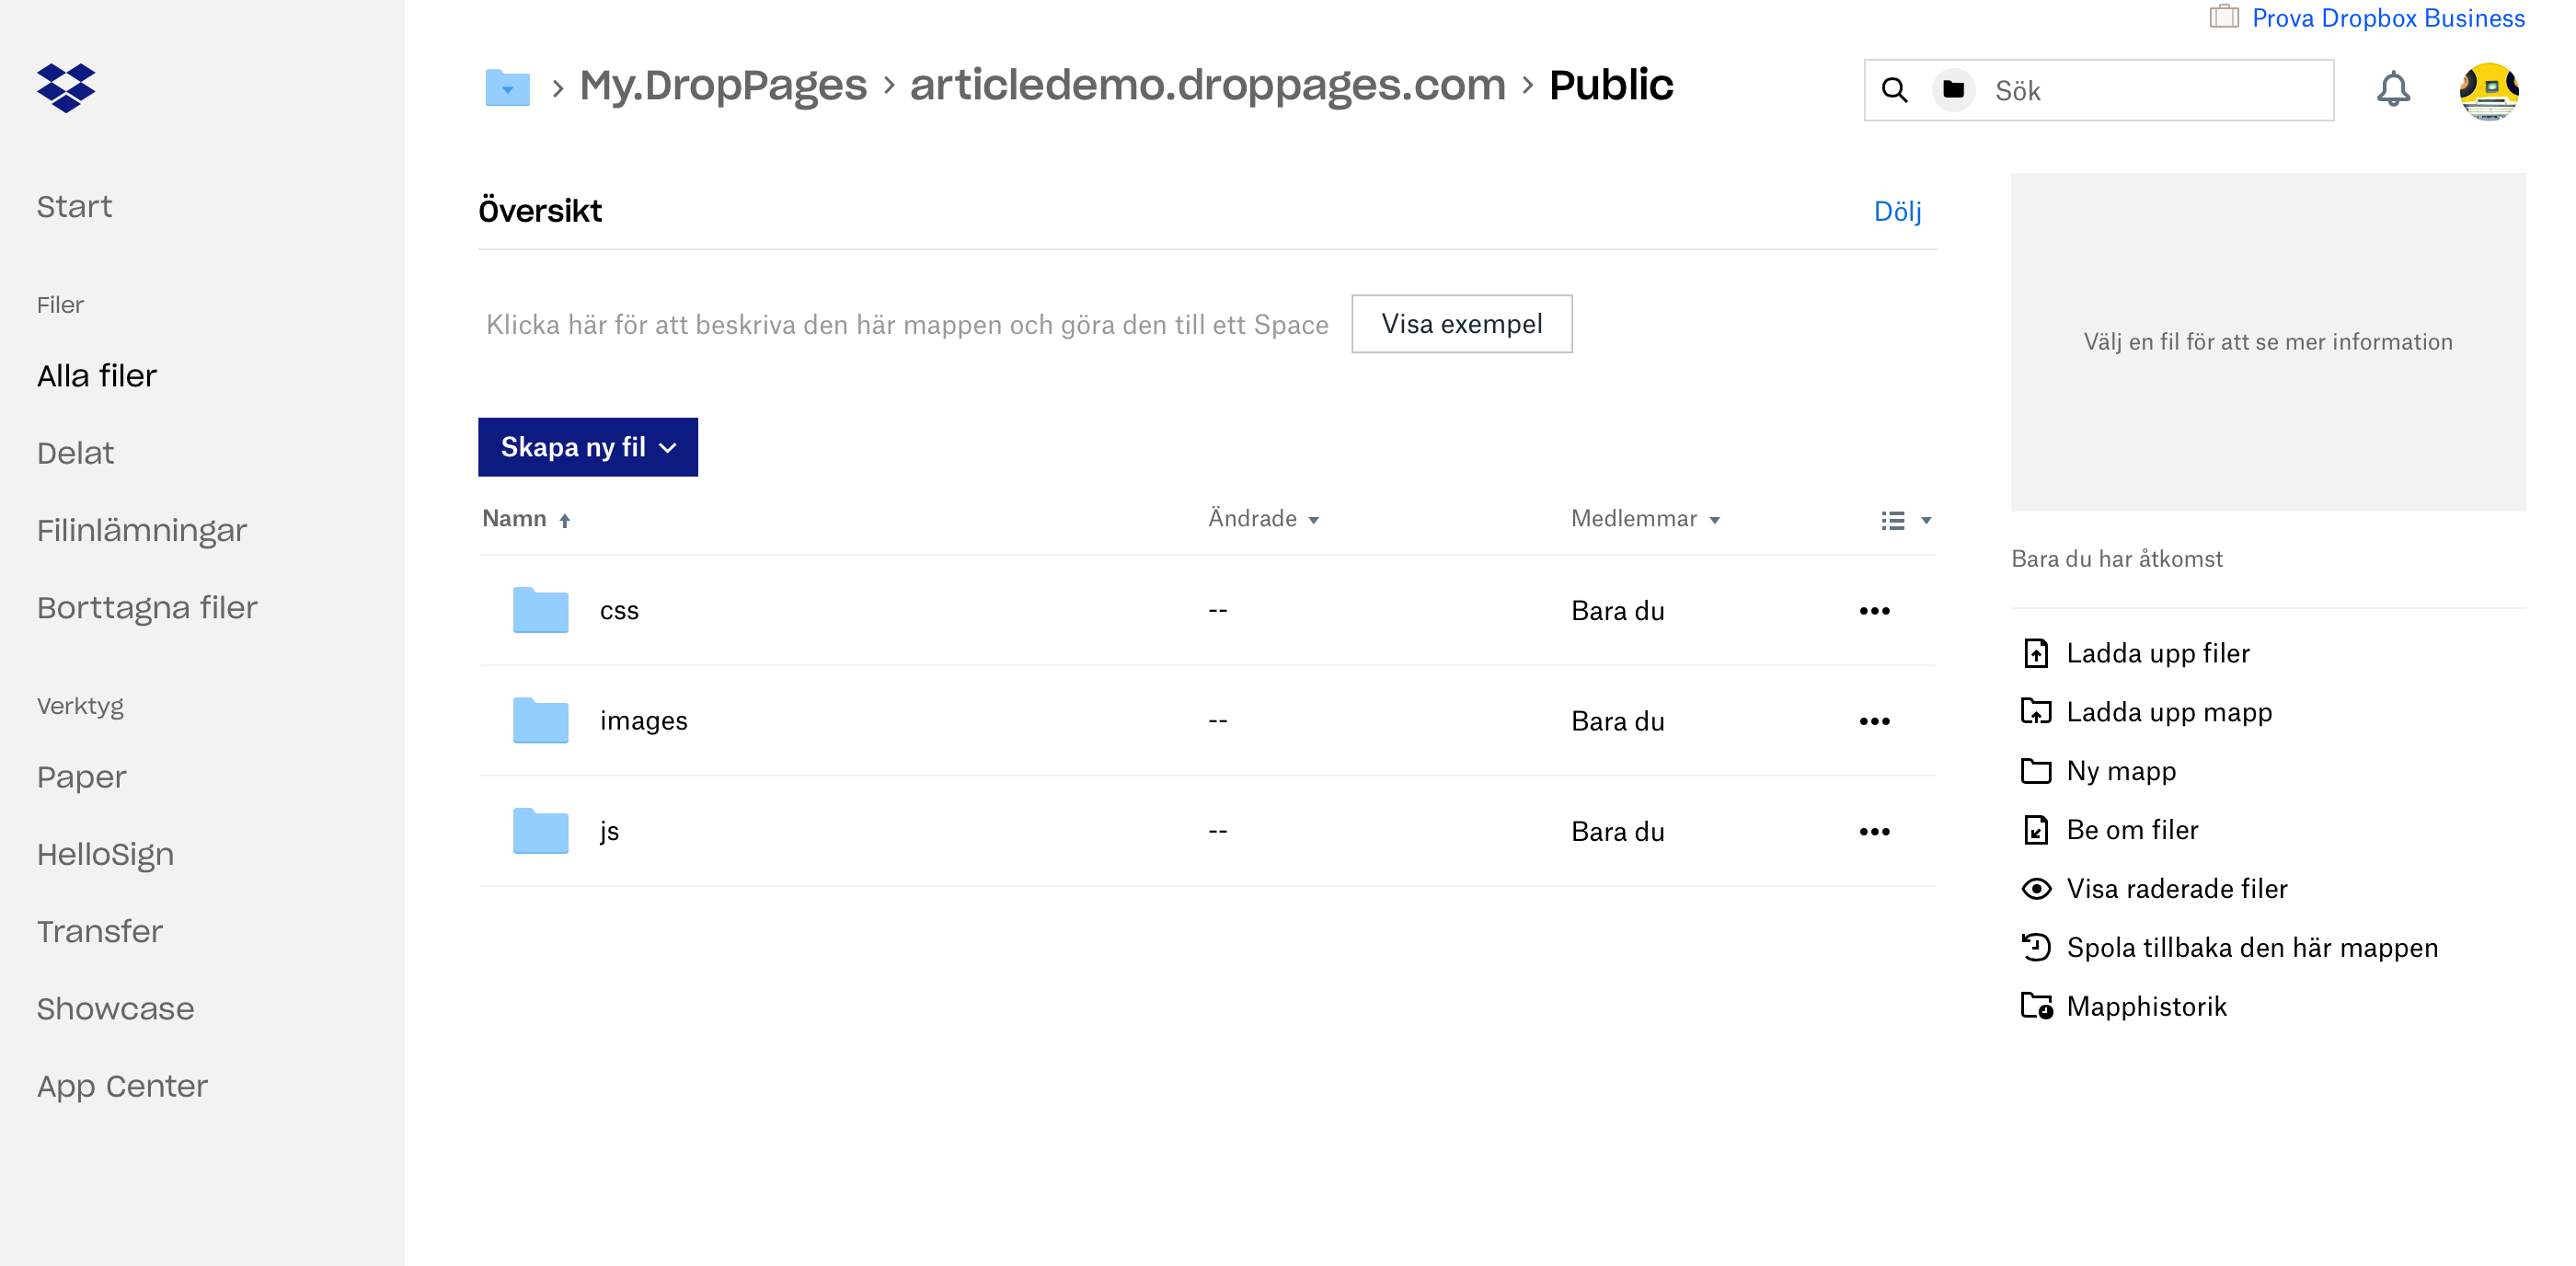
Drop these files into Public
Public holds all your CSS, Javascript and Image assets. Mine looks like this:
Now go back to your DropPages account and hit Publish now and you’re done! Sometimes it can take a couple of minutes for everything to get synced and uploaded, just be patient, it will work.
If you experience sync issues hit that red Reset sync button, publish again and it eventually work.
Final result
http://articledemo.droppages.com/index.html
That’s it folks, hope you enjoyed this tutorial and find it useful for your design to code workflow.