Breaking news!
We just updated Sketch2React with Capacitor project export! That means you can skip all the steps in this tutorial on the subject of Capacitor project requirements, since we now bundle it for you. Rejoice!
You still need this tutorial for all the other parts, but hey we just made it simpler than ever for you. 😺✅
Here’s a new companion video:
Background story
I hadn’t actually planned to make a part two of my tutorial on how to go from Sketch, via Sketch2React to Xcode.
Then I got this really neat tip from our friendly Slack community short after publishing it:
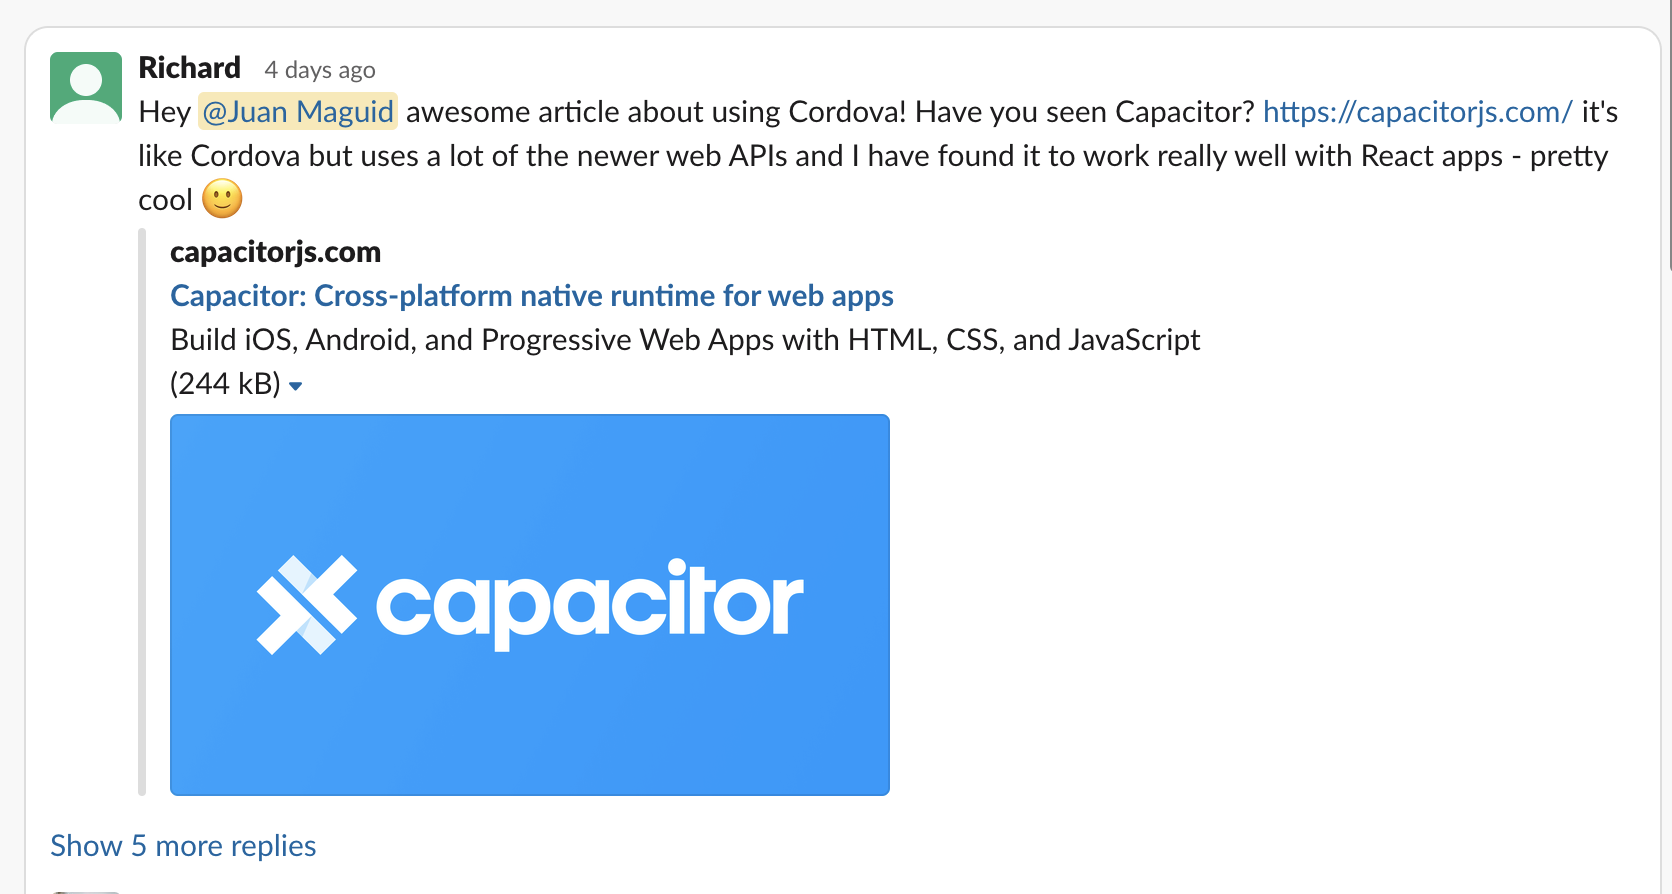
So, what’s Capacitor one may ask?
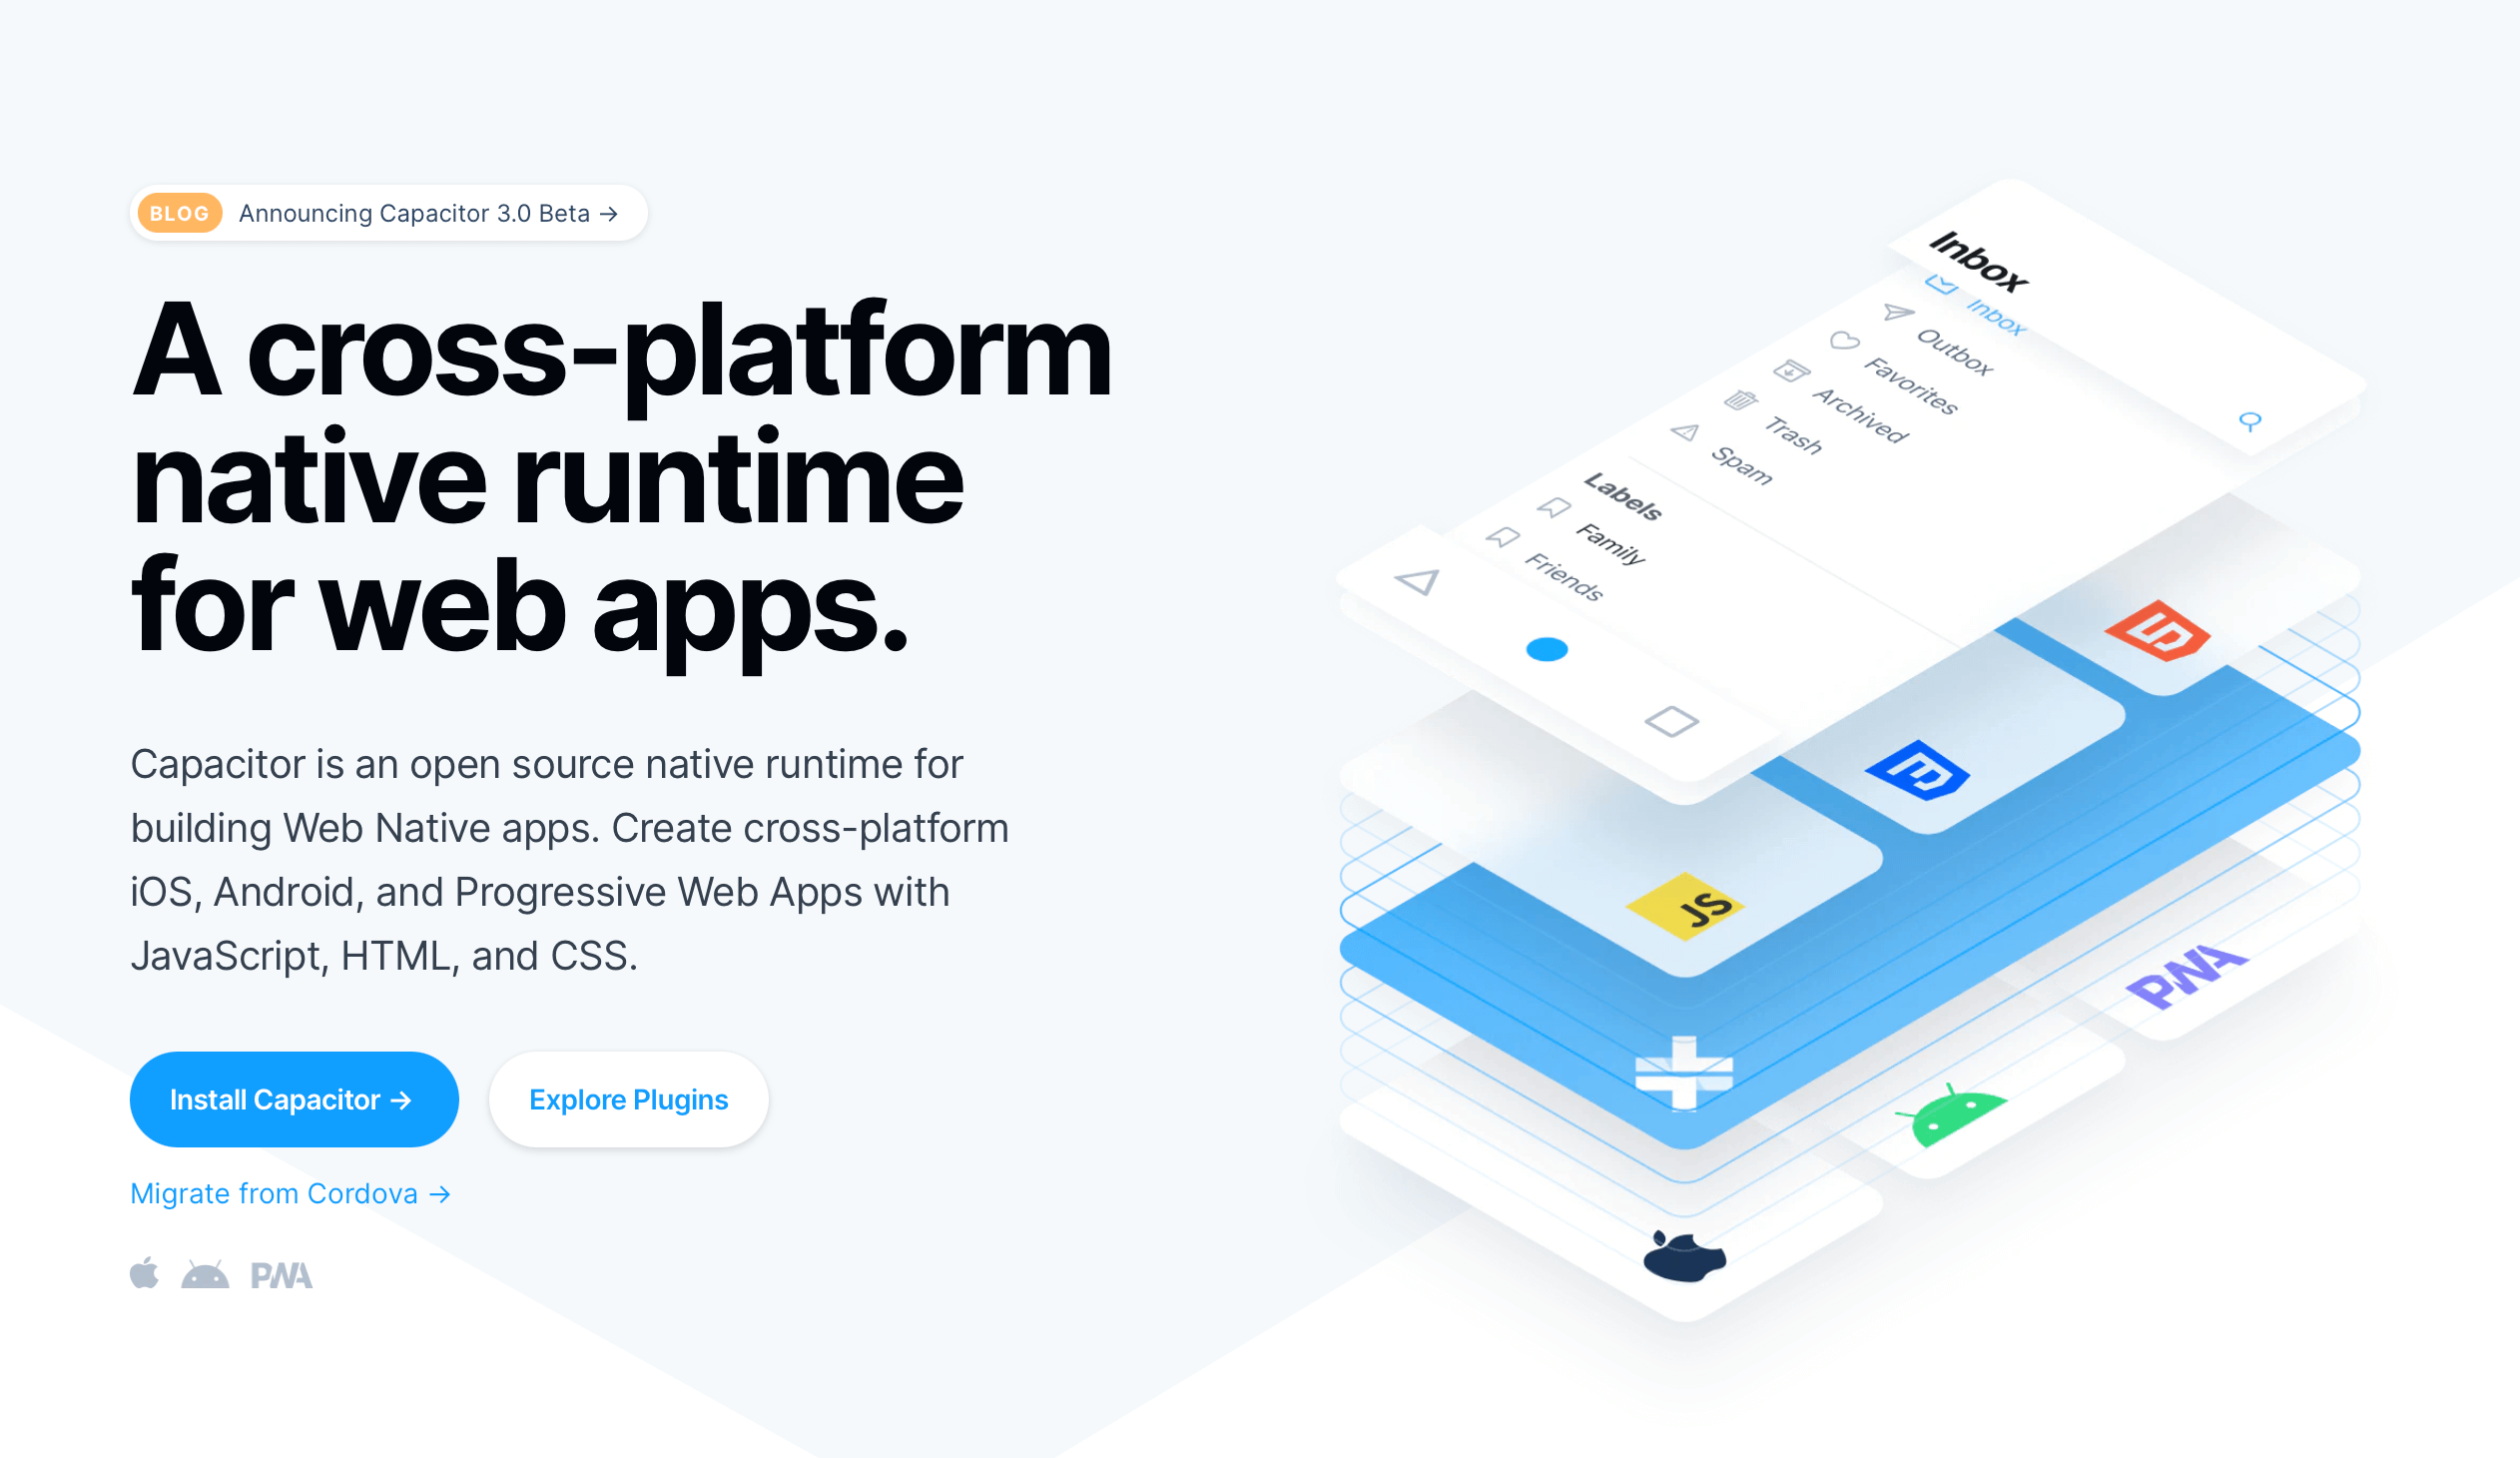
Basically, it’s like Cordova but uses more modern cross-platform tech. Sounds neat to me, let’s give it a try.
The philosophy behind building hybrid apps is that you use web tech, and then you can add platform specifics later. In my context though for now, delighted to be able to go from Sketch to Xcode prototypes with very little effort.
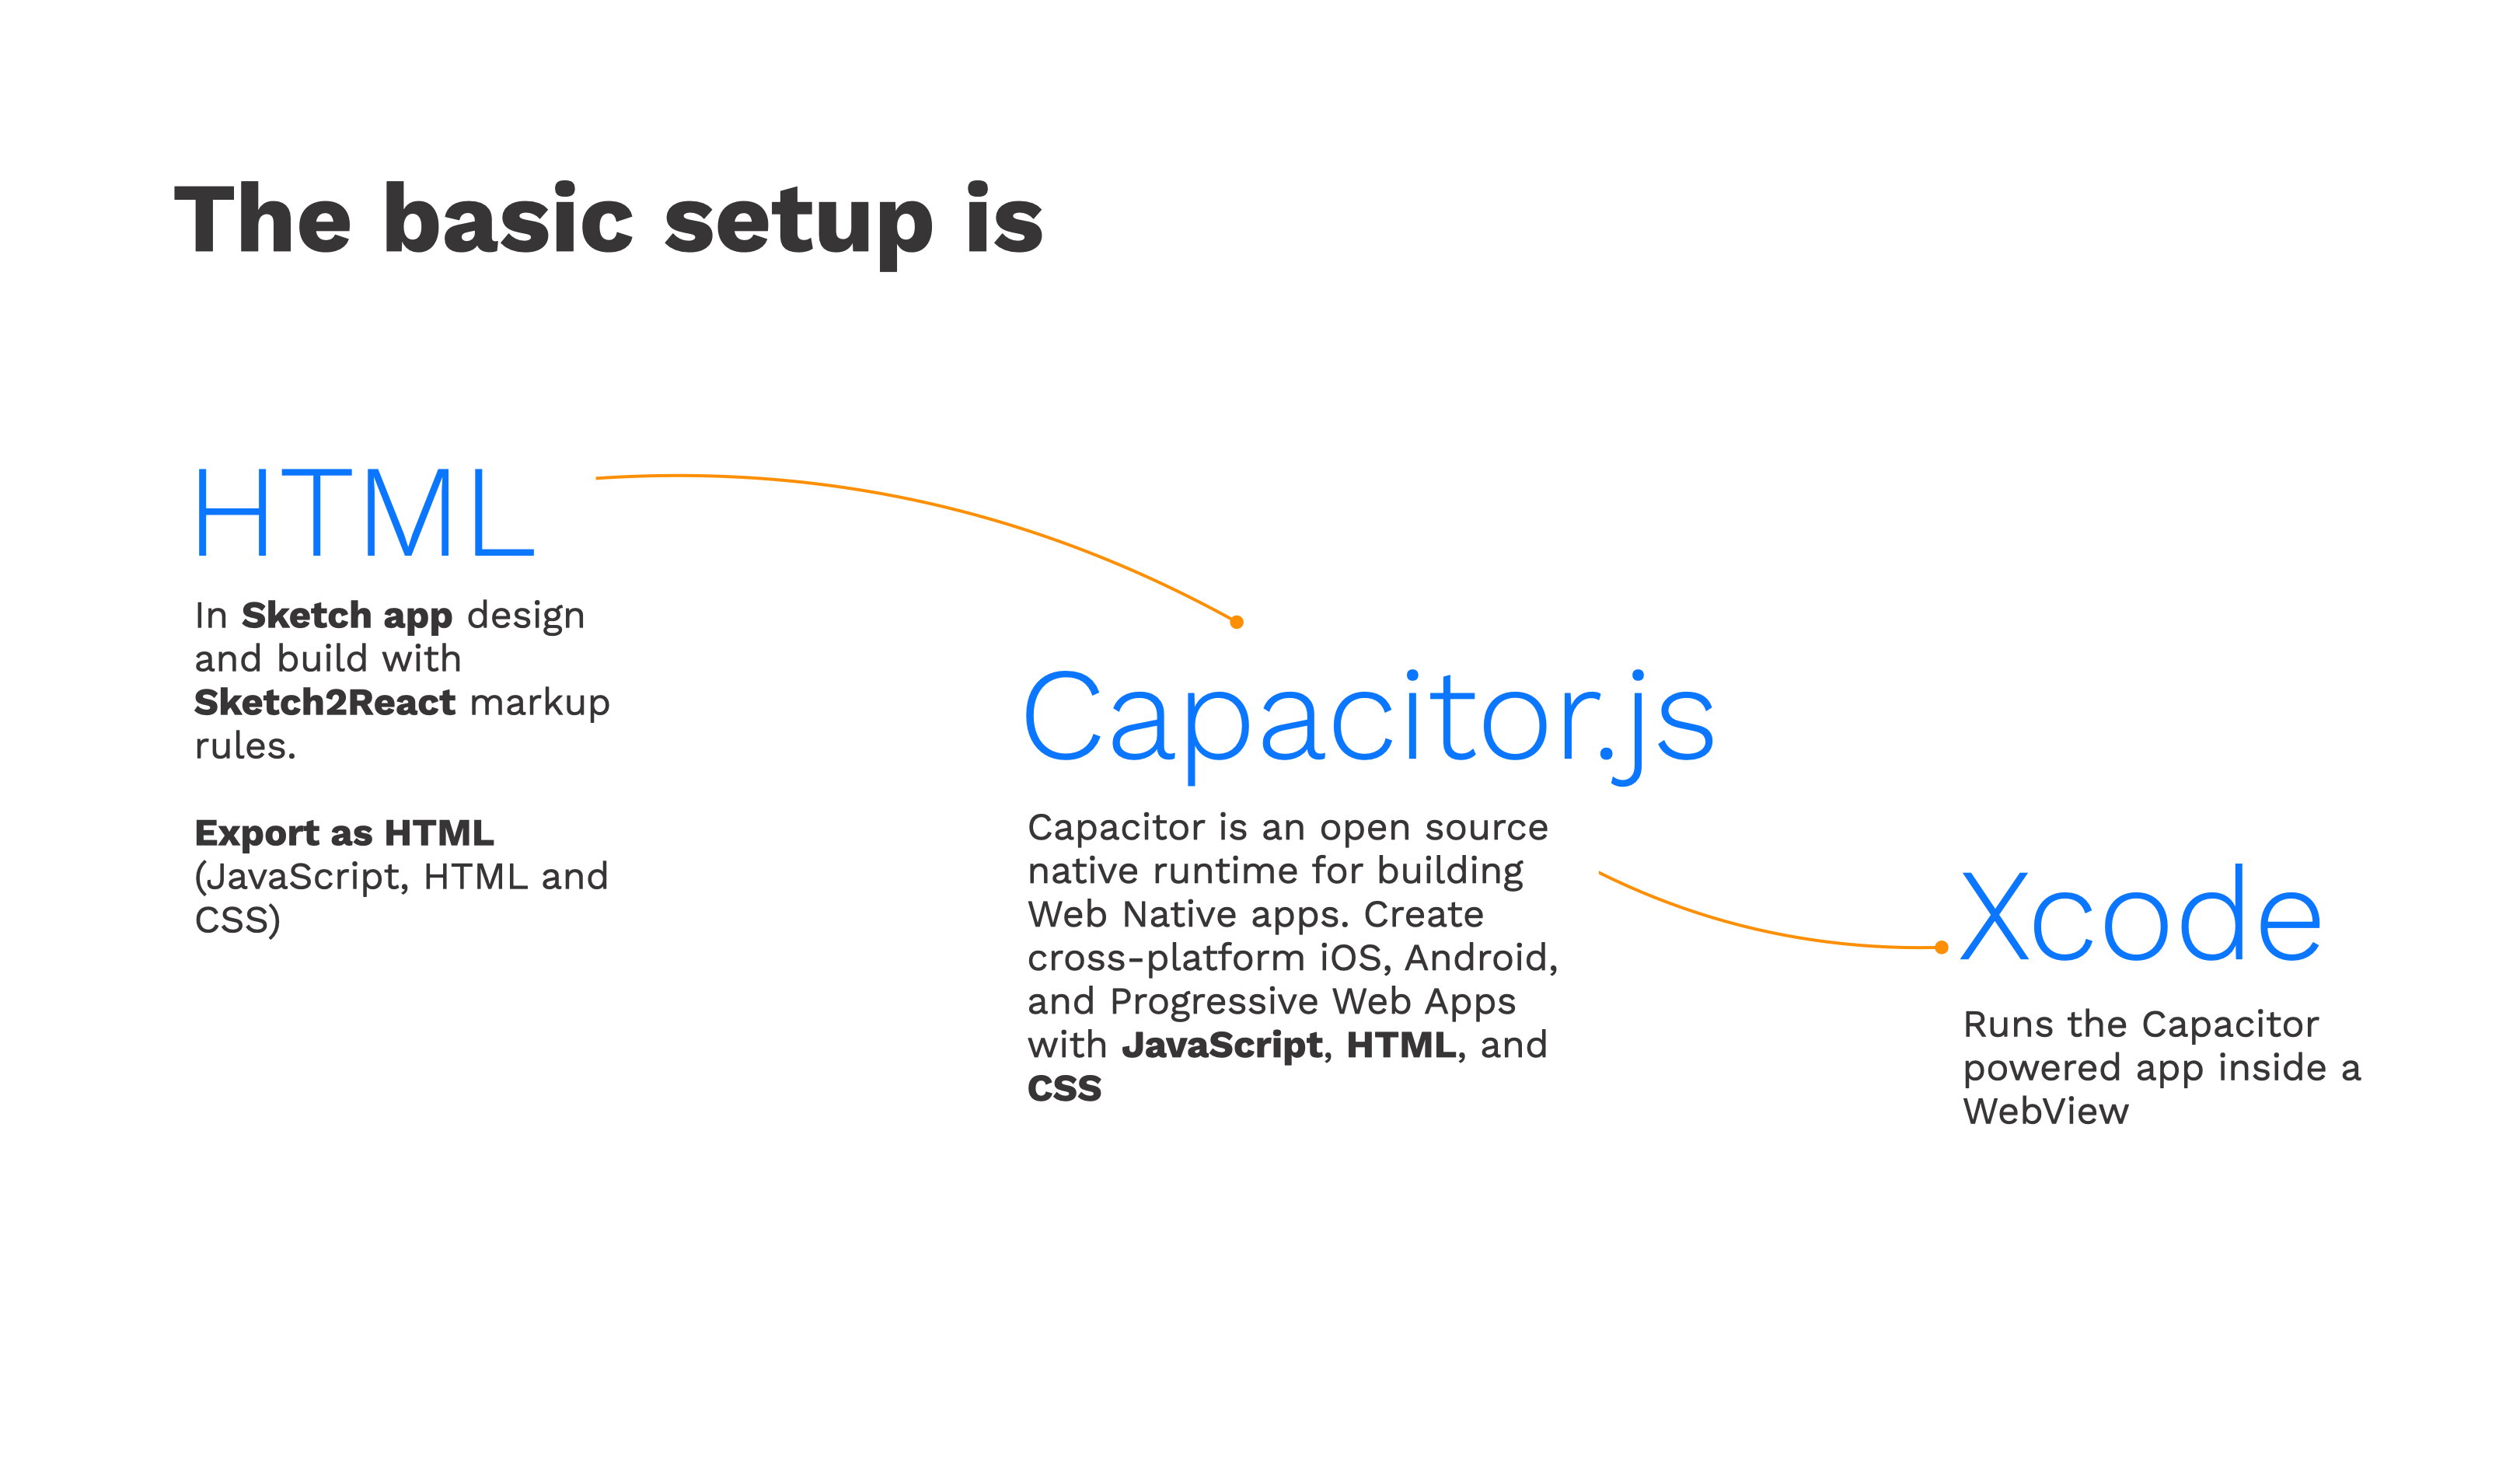
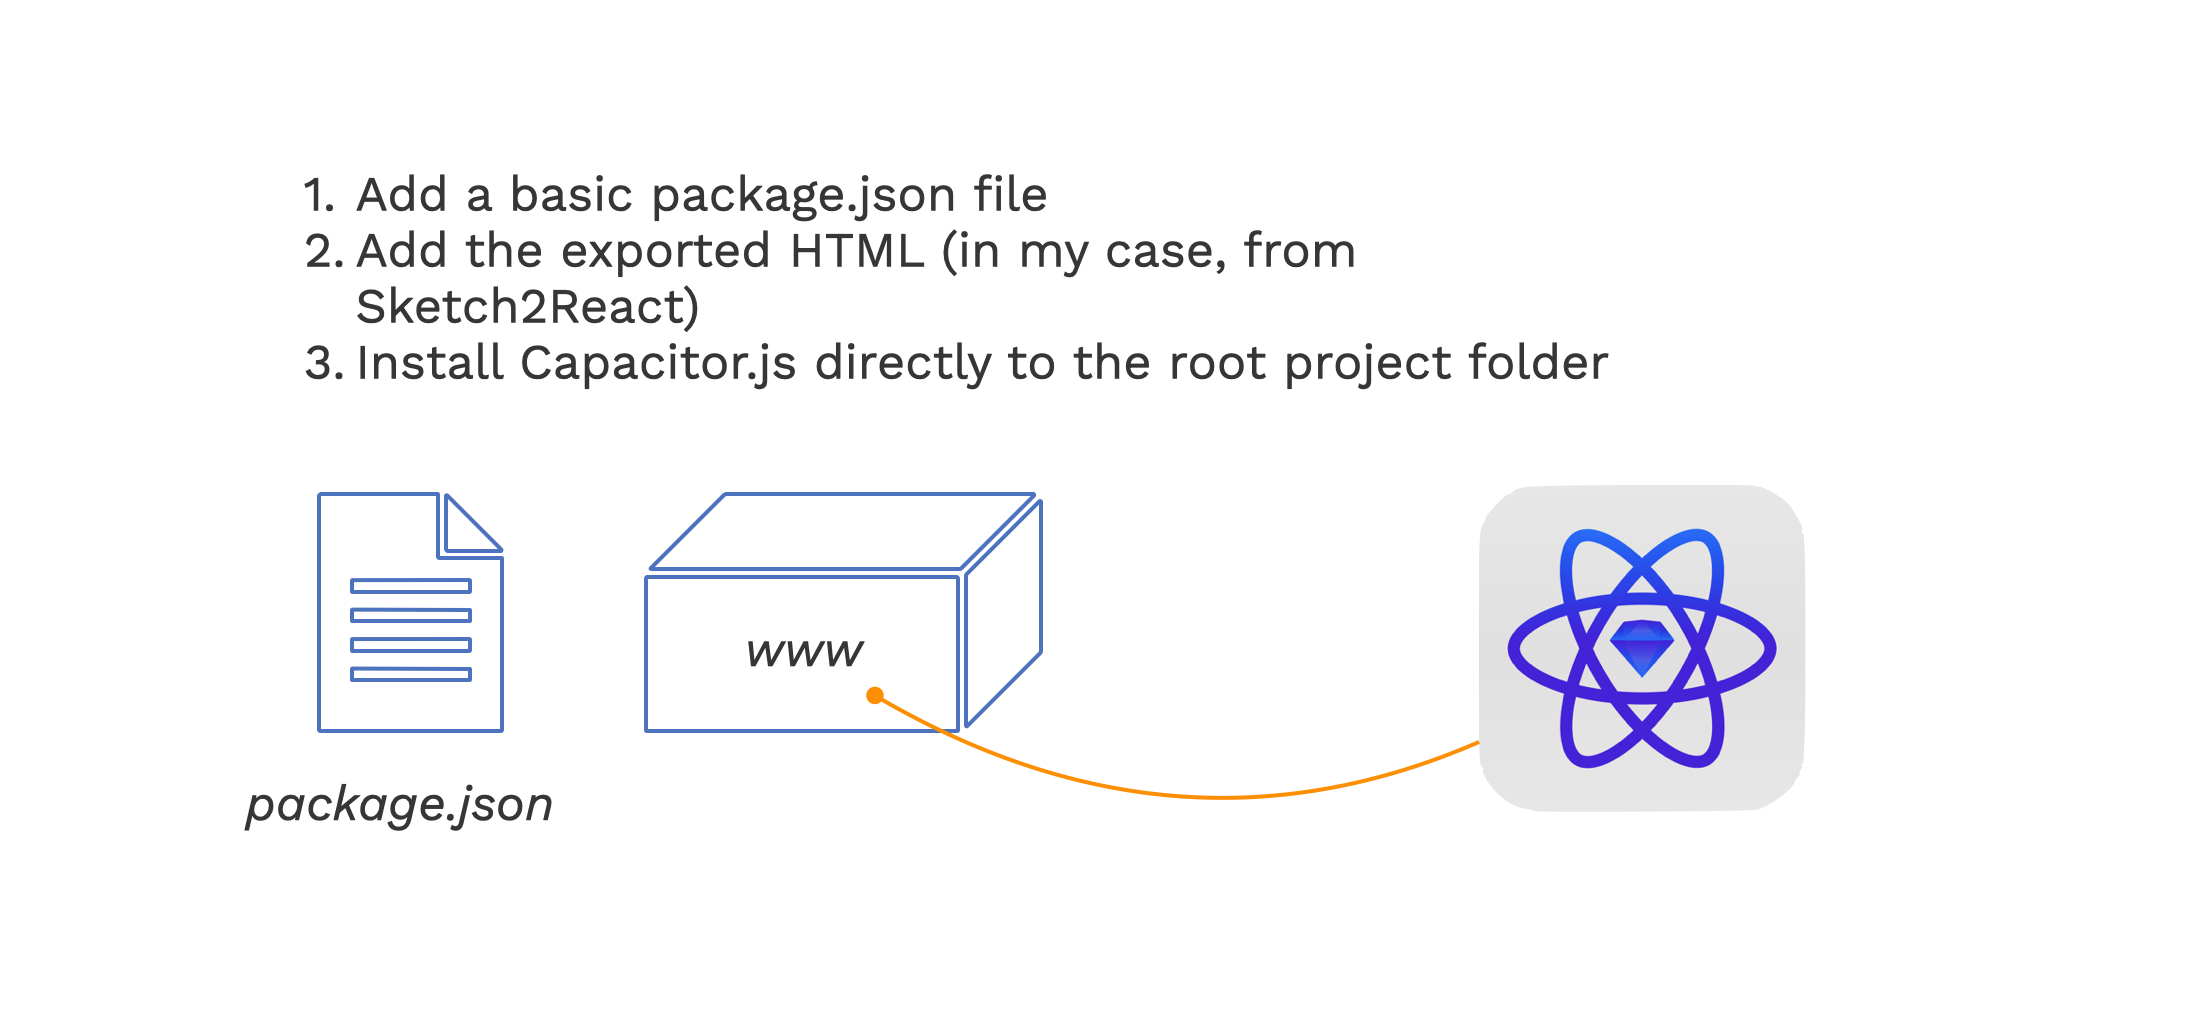
As you can see in the basic diagram above, this workflow is really straightforward.
This is what we’re going to build
Here’s the complete project, download it and compare it to your own, strictly for educational purposes, of course.
Tutorial requirements
- I will assume you have done my first tutorial on this topic, going from Sketch to Xcode via Sketch2React
- Since you already have installed Xcode and all the other goodies we will only focus on using Capacitor and what needs to be installed to get it working
Install these first
- Download and install the Xcode Command Line tools. You can do this directly from within Xcode or you can just fire up the mighty Terminal app and add this installation snippet:
xcode-select —install
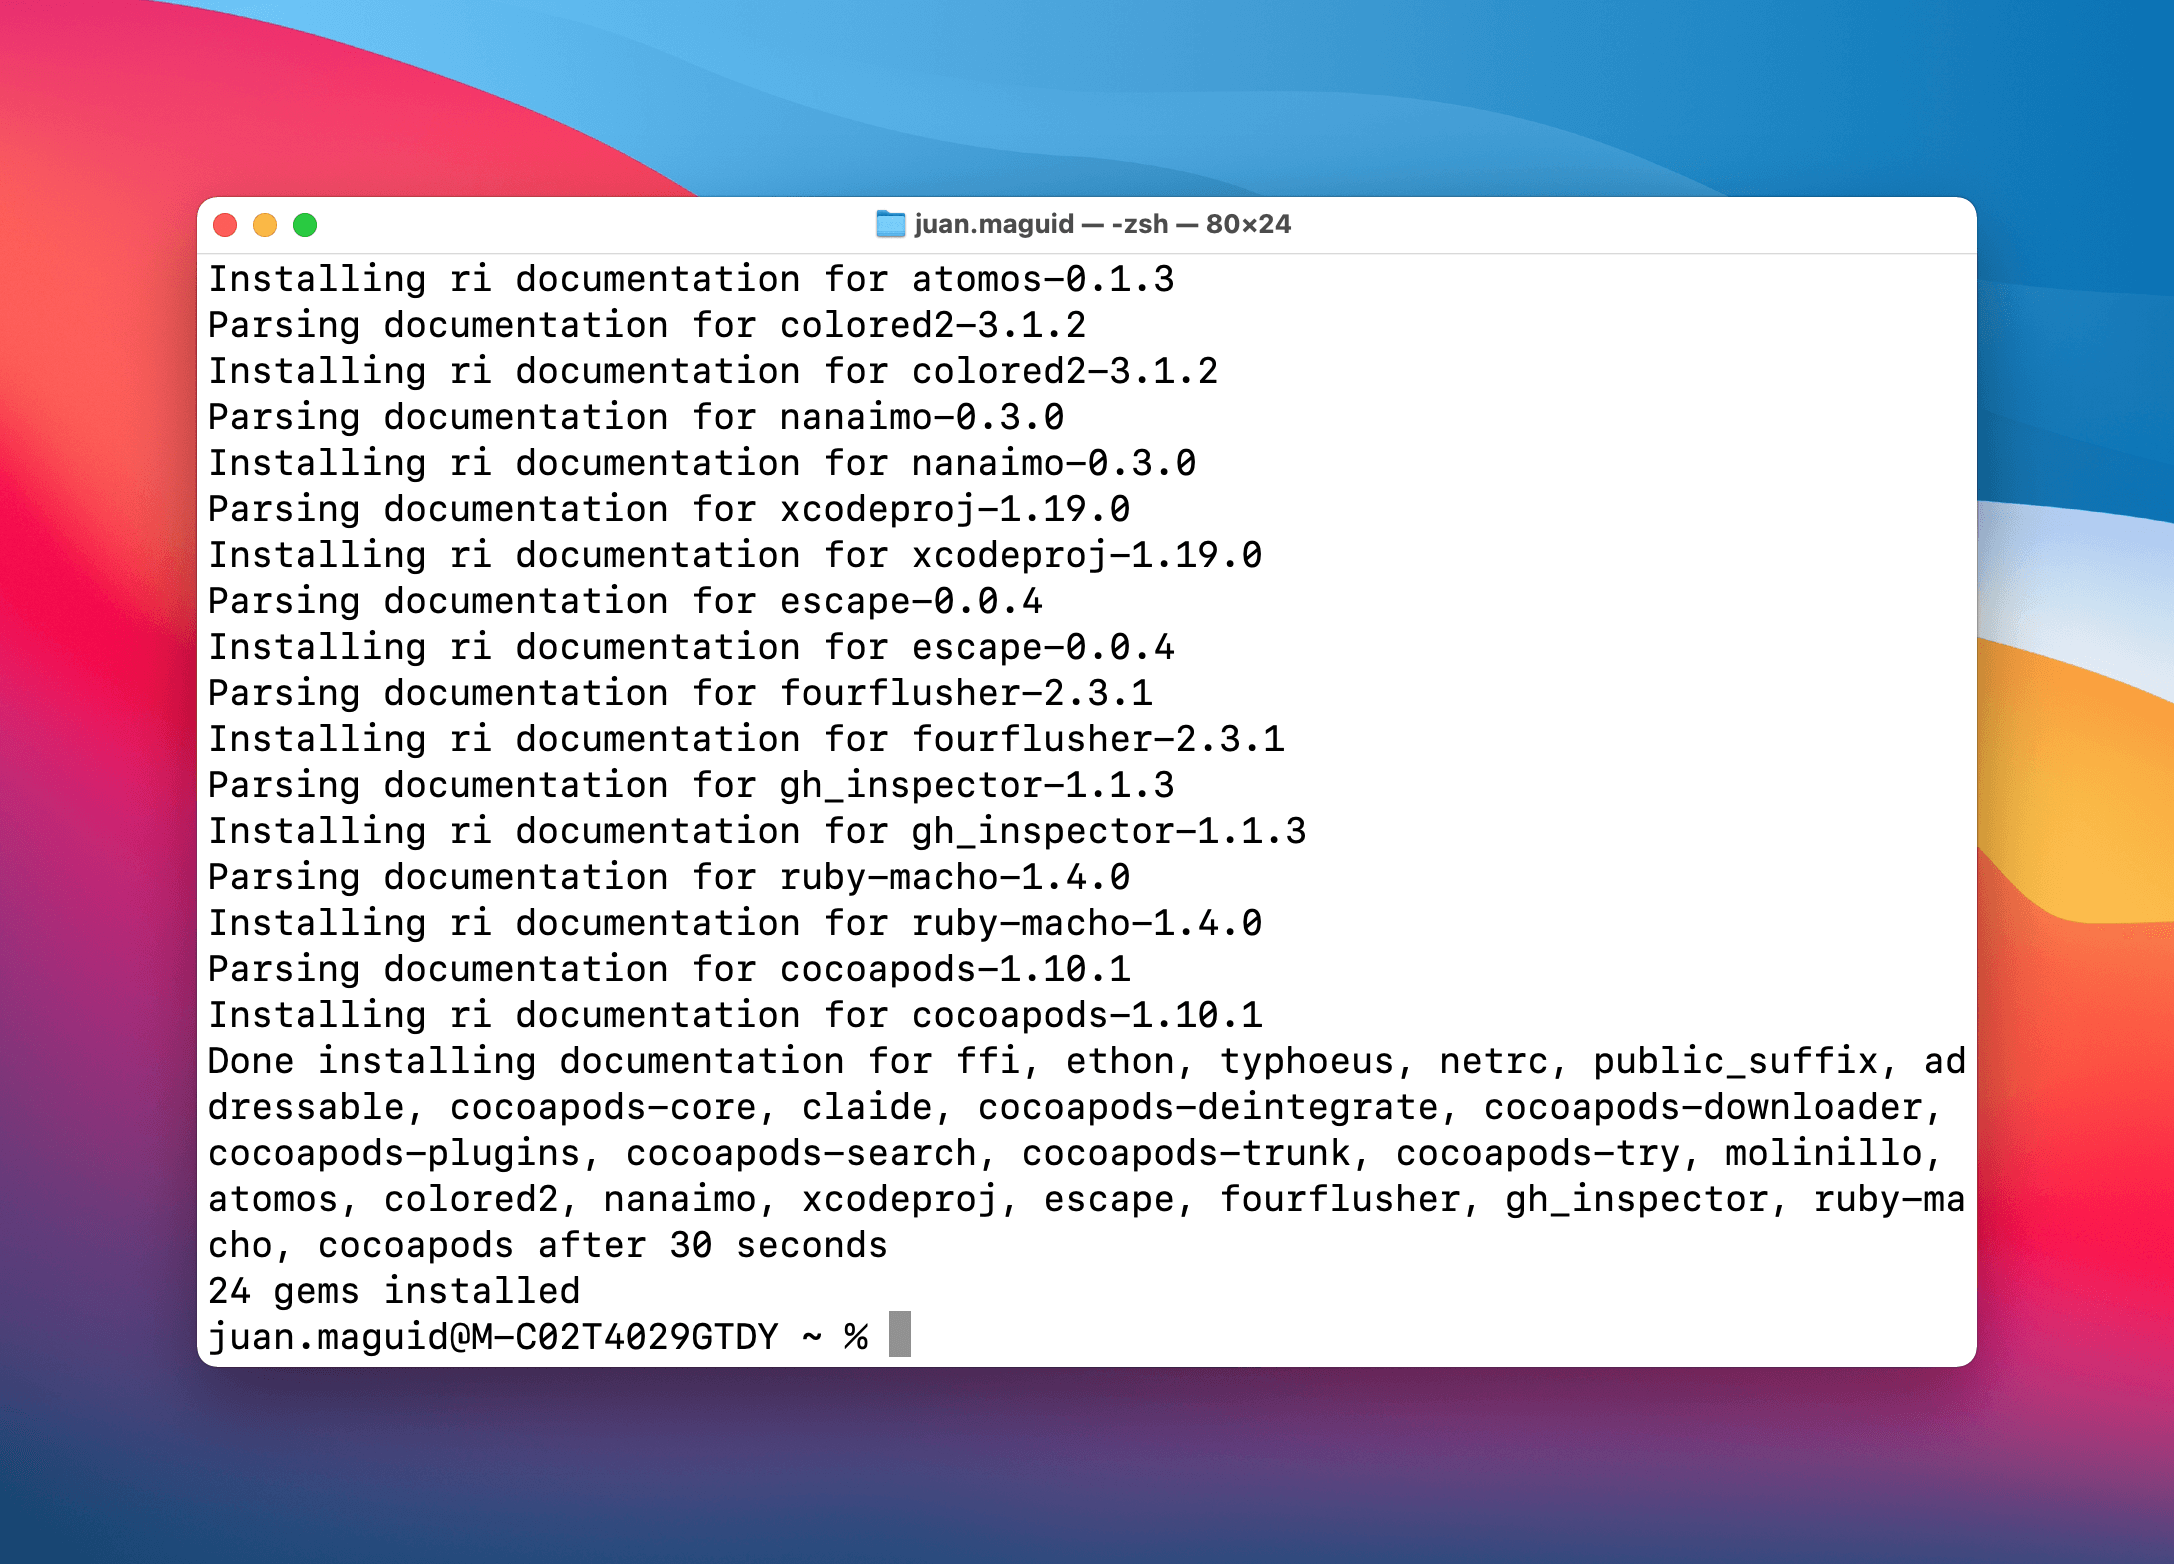
- Download and install CocoaPods, easiest is just by adding this snippet directly in the Terminal:
sudo gem install cocoapods
Get your Sketch2React HTML ready
You already know how to do this since you are a good student right? Awesome 😺 👍
For all of you that don’t own Sketch2React, let’s reuse the HTML package from our previous tutorial. Download the HTML from here.
Capacitor project requirements
Capacitor was designed to drop into any modern JavaScript web app. Good news for you is that Sketch2React meets these requirements, you just export, and you have what you need. Well almost.
I scanned the Capacitor docs and found out that projects must meet the following requirements:
- Must have a package.json file
- Must have a separate directory for web assets (www)
- Must have an index.html file with a <head> tag in the root of the web assets directory
Let’s check them off one by one.
1. How to create a package.json file from scratch
To create one from scratch you open up the Terminal app, either the stand-alone or the one built-in Visual Studio Code, and enter this snippet:
npm init
It will ask you to fill out some fields, and then create a package.json file in the current directory. Directory means project folder in common designer’s language. 👽 👍
You can always use my template package.json instead.
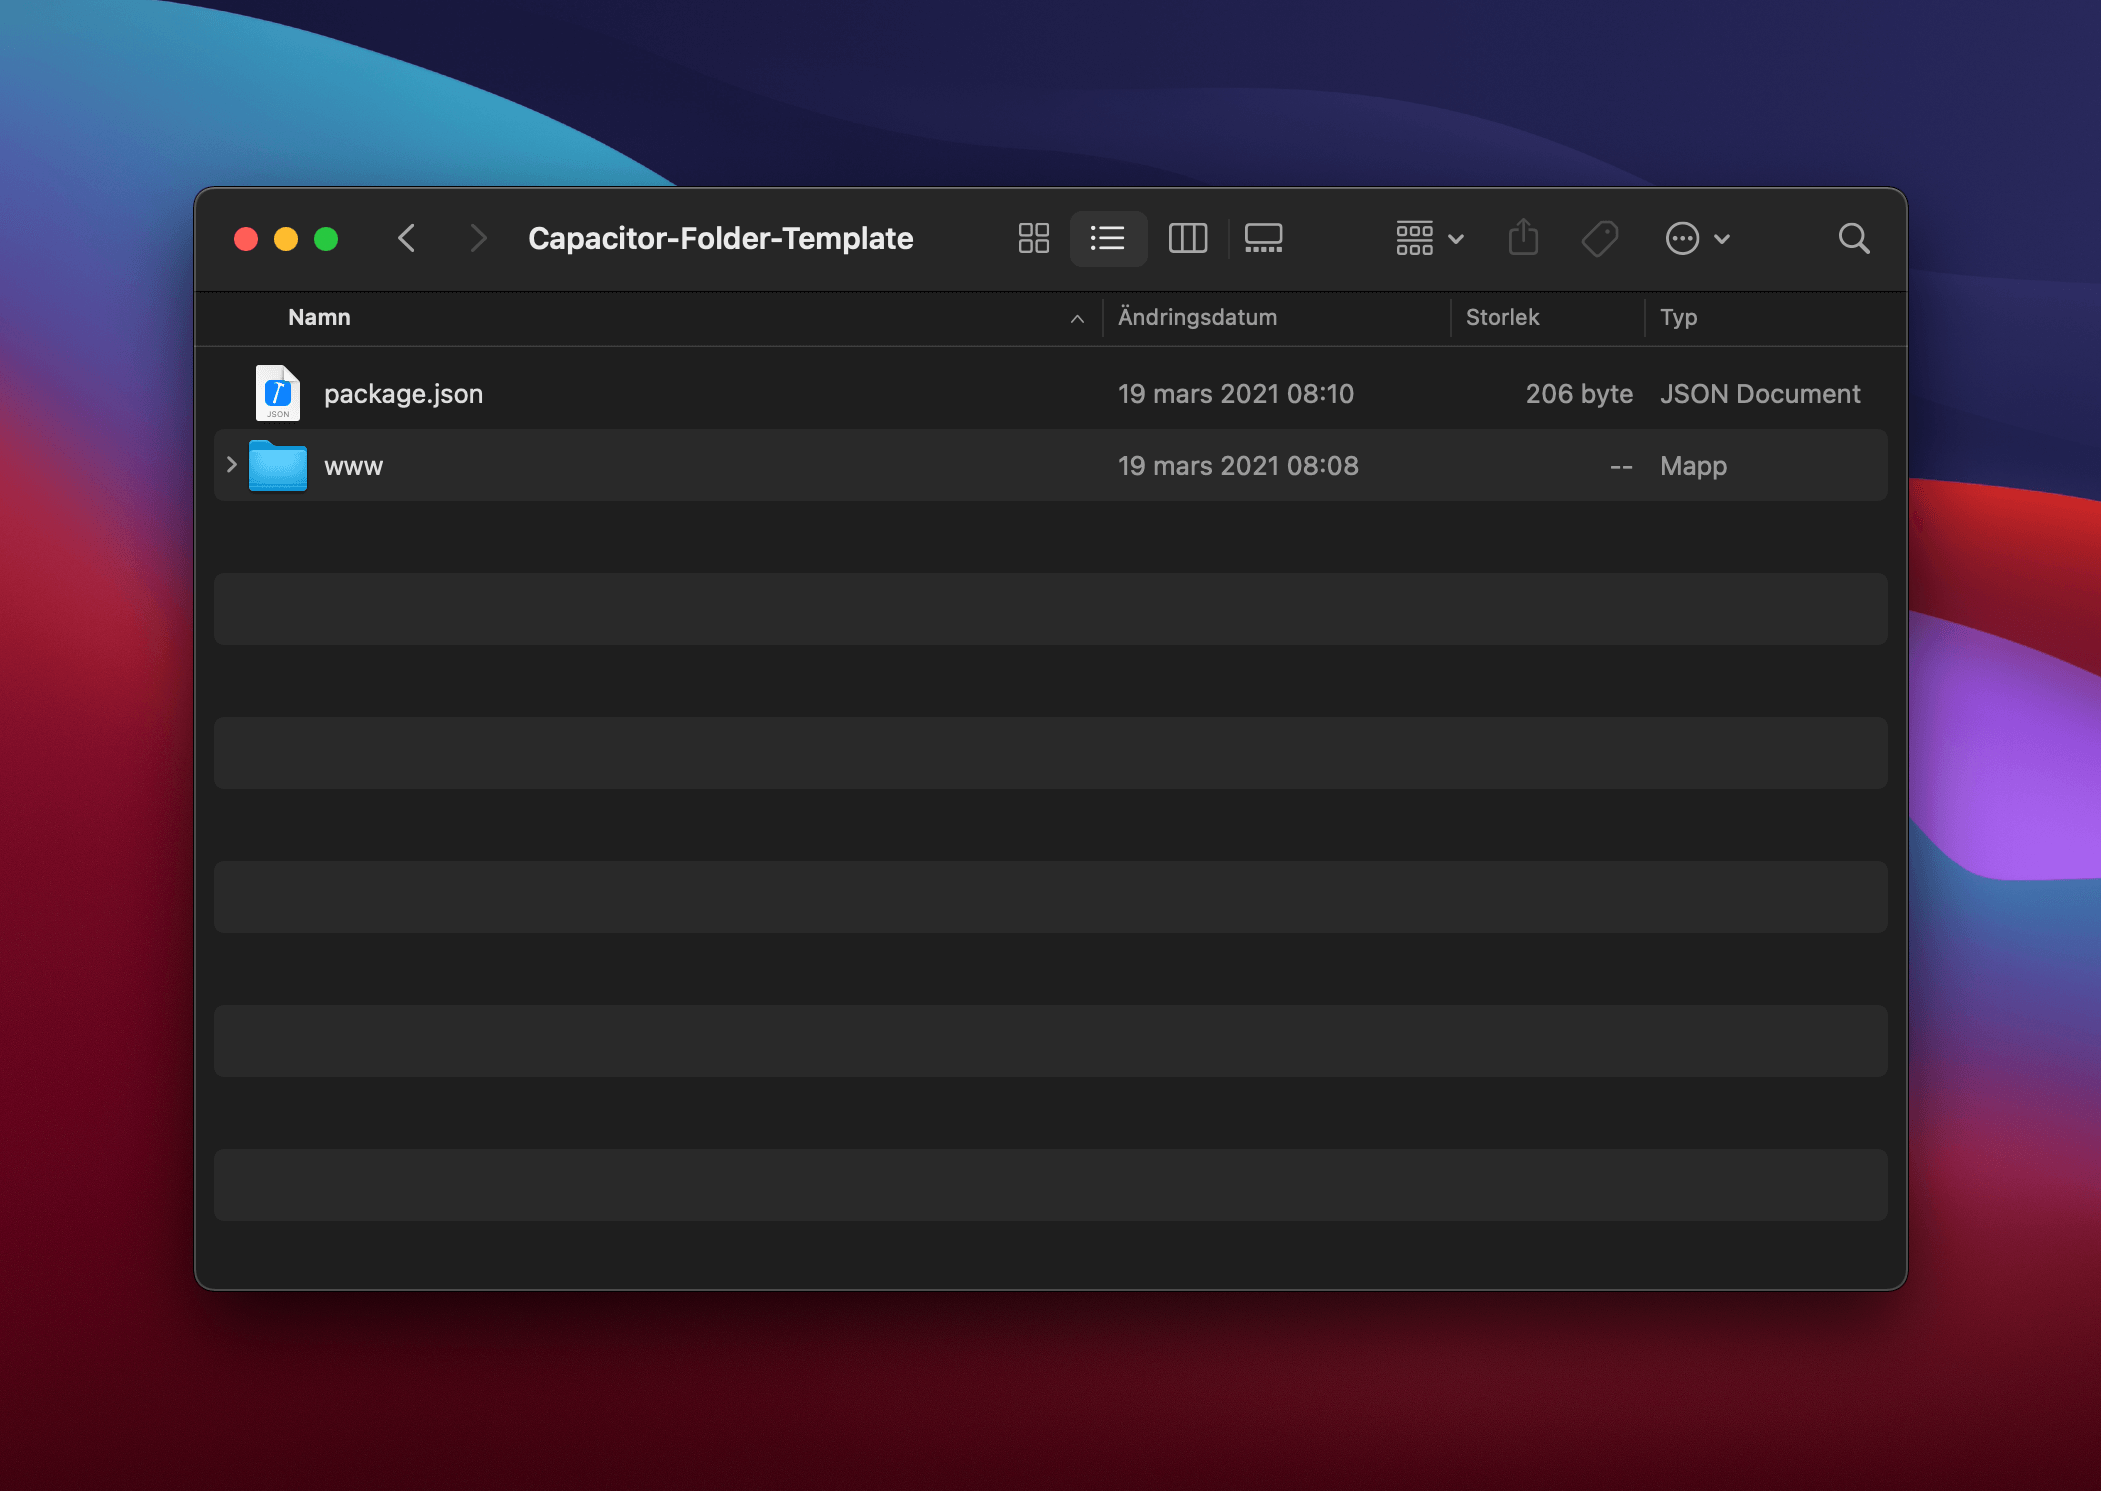
2. How to create a separate directory for web assets
This one is super simple. Just create a subfolder in your main project folder and rename it www:
3. Must have an index.html file
This step is even simpler. Just drag (or copy) all the HTML files (and folders) that Sketch2React automagically created for you upon export to the newly created folder www, like this:
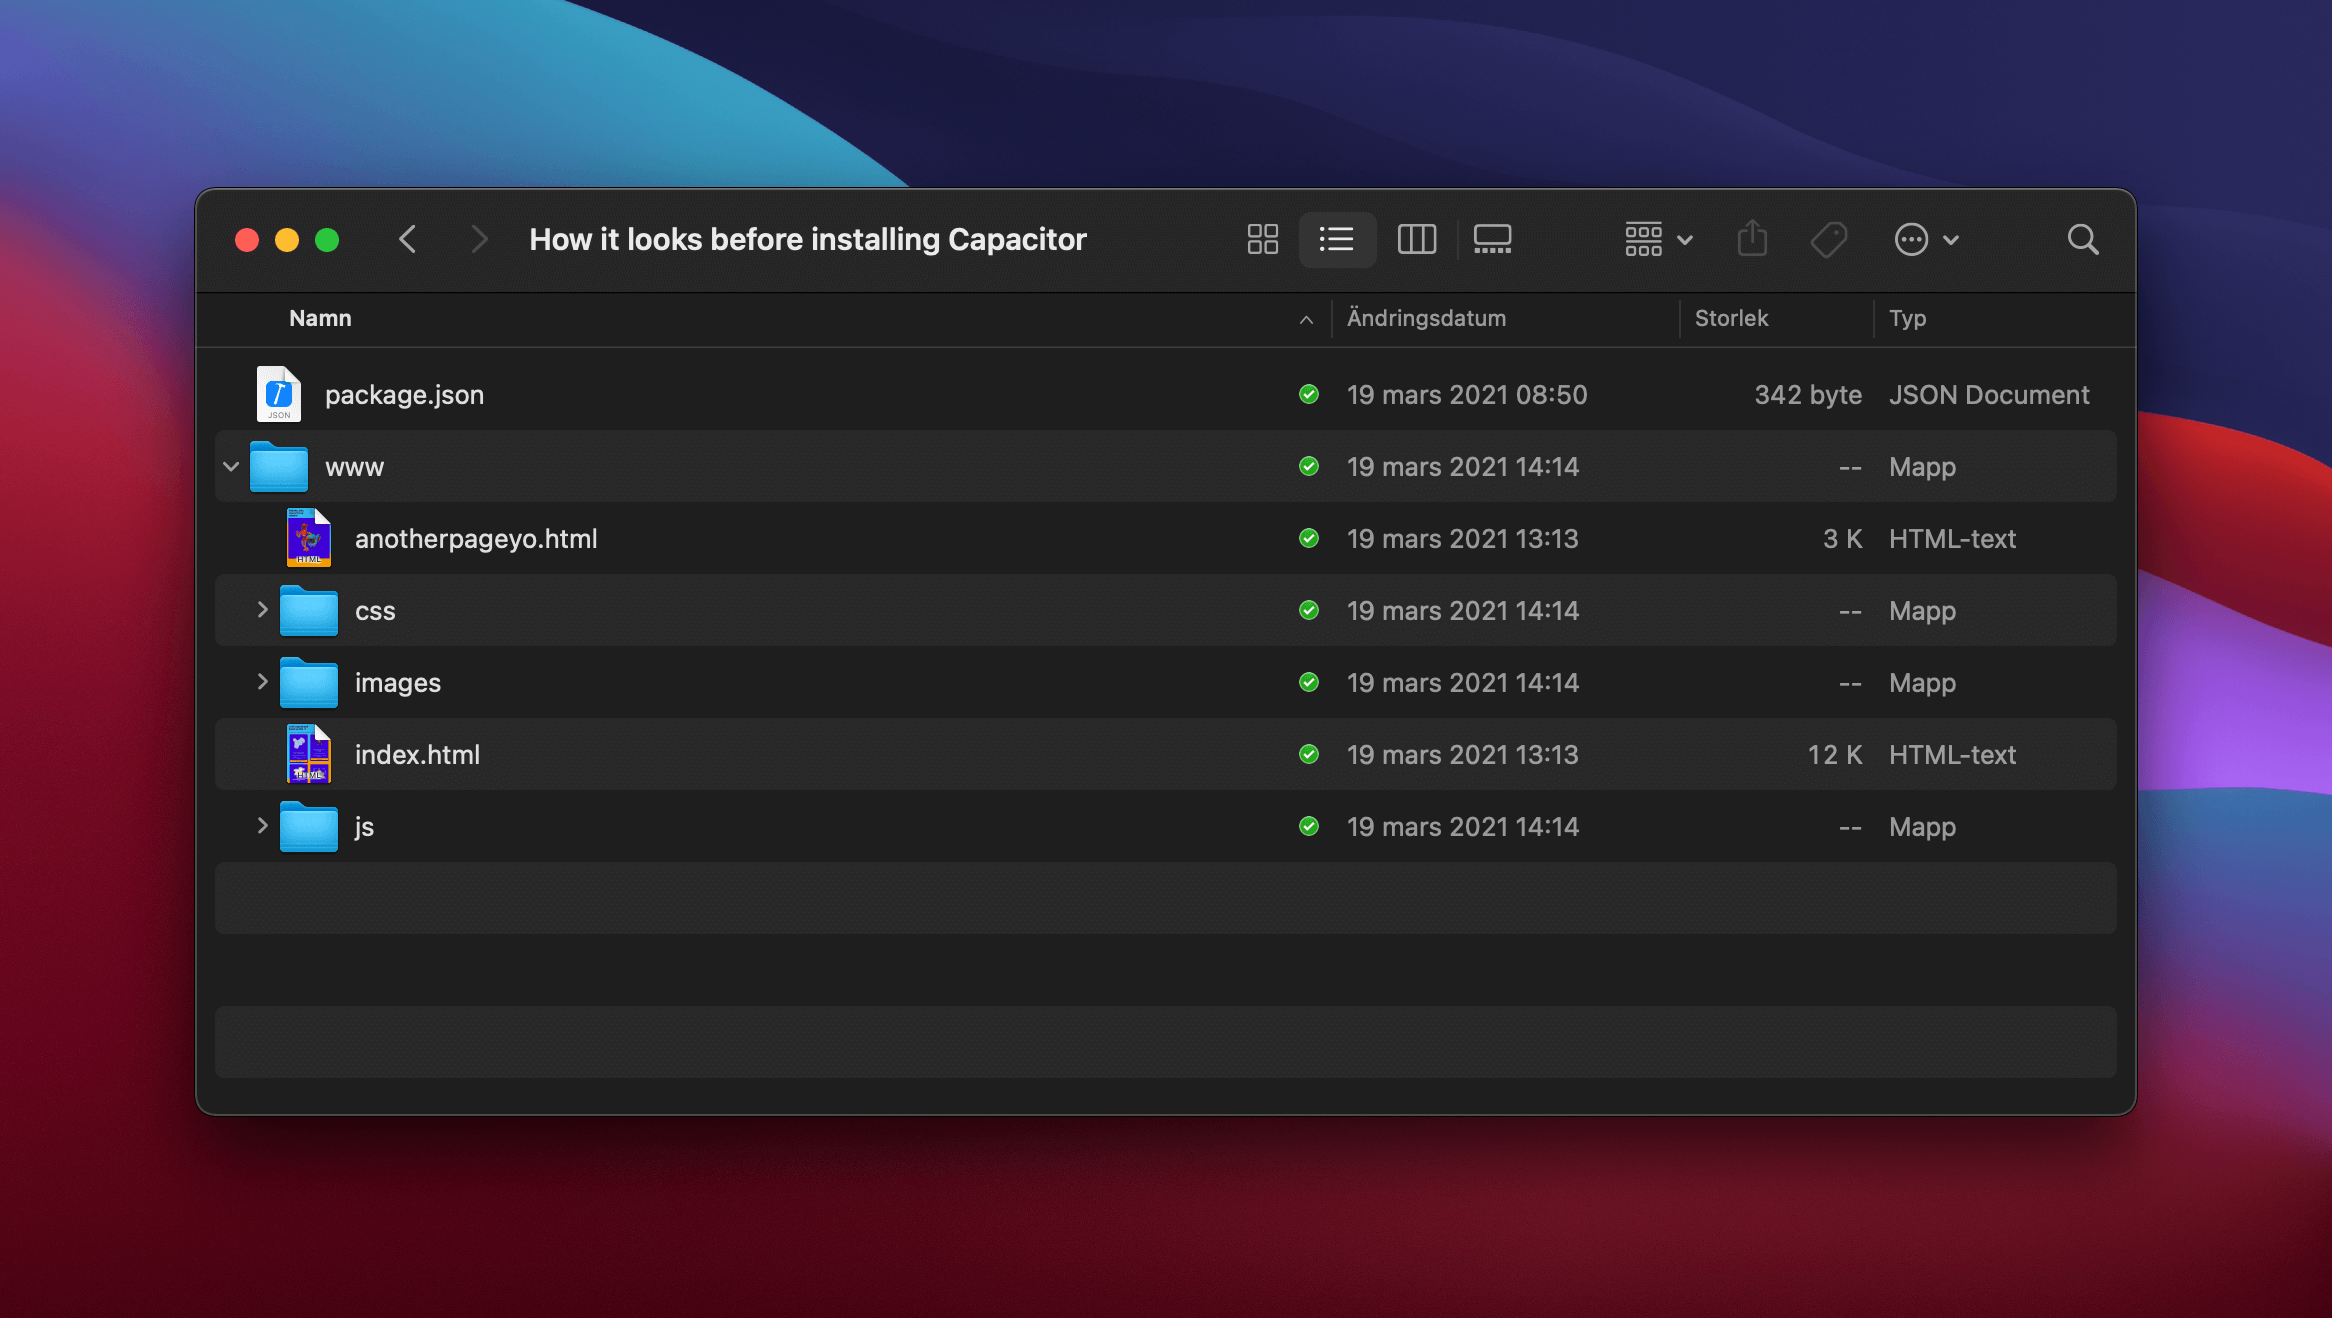
You don’t even need to rename any folders, like you need to do with Cordova. It just works.
To speed things up for you, I created a folder template that meets the above requirements, all you need to do is add your HTML files, and you’ll be good to go.
Installing Capacitor
Now let’s do the real magic, installing Capacitor and all its sheer power directly to our project folder. The easiest way to do this is to drag the entire folder to a code editor like Visual Studio Code.
Step 1 — Installing the Capacitor client
Make sure you are in the correct directory (folder) before running this command.
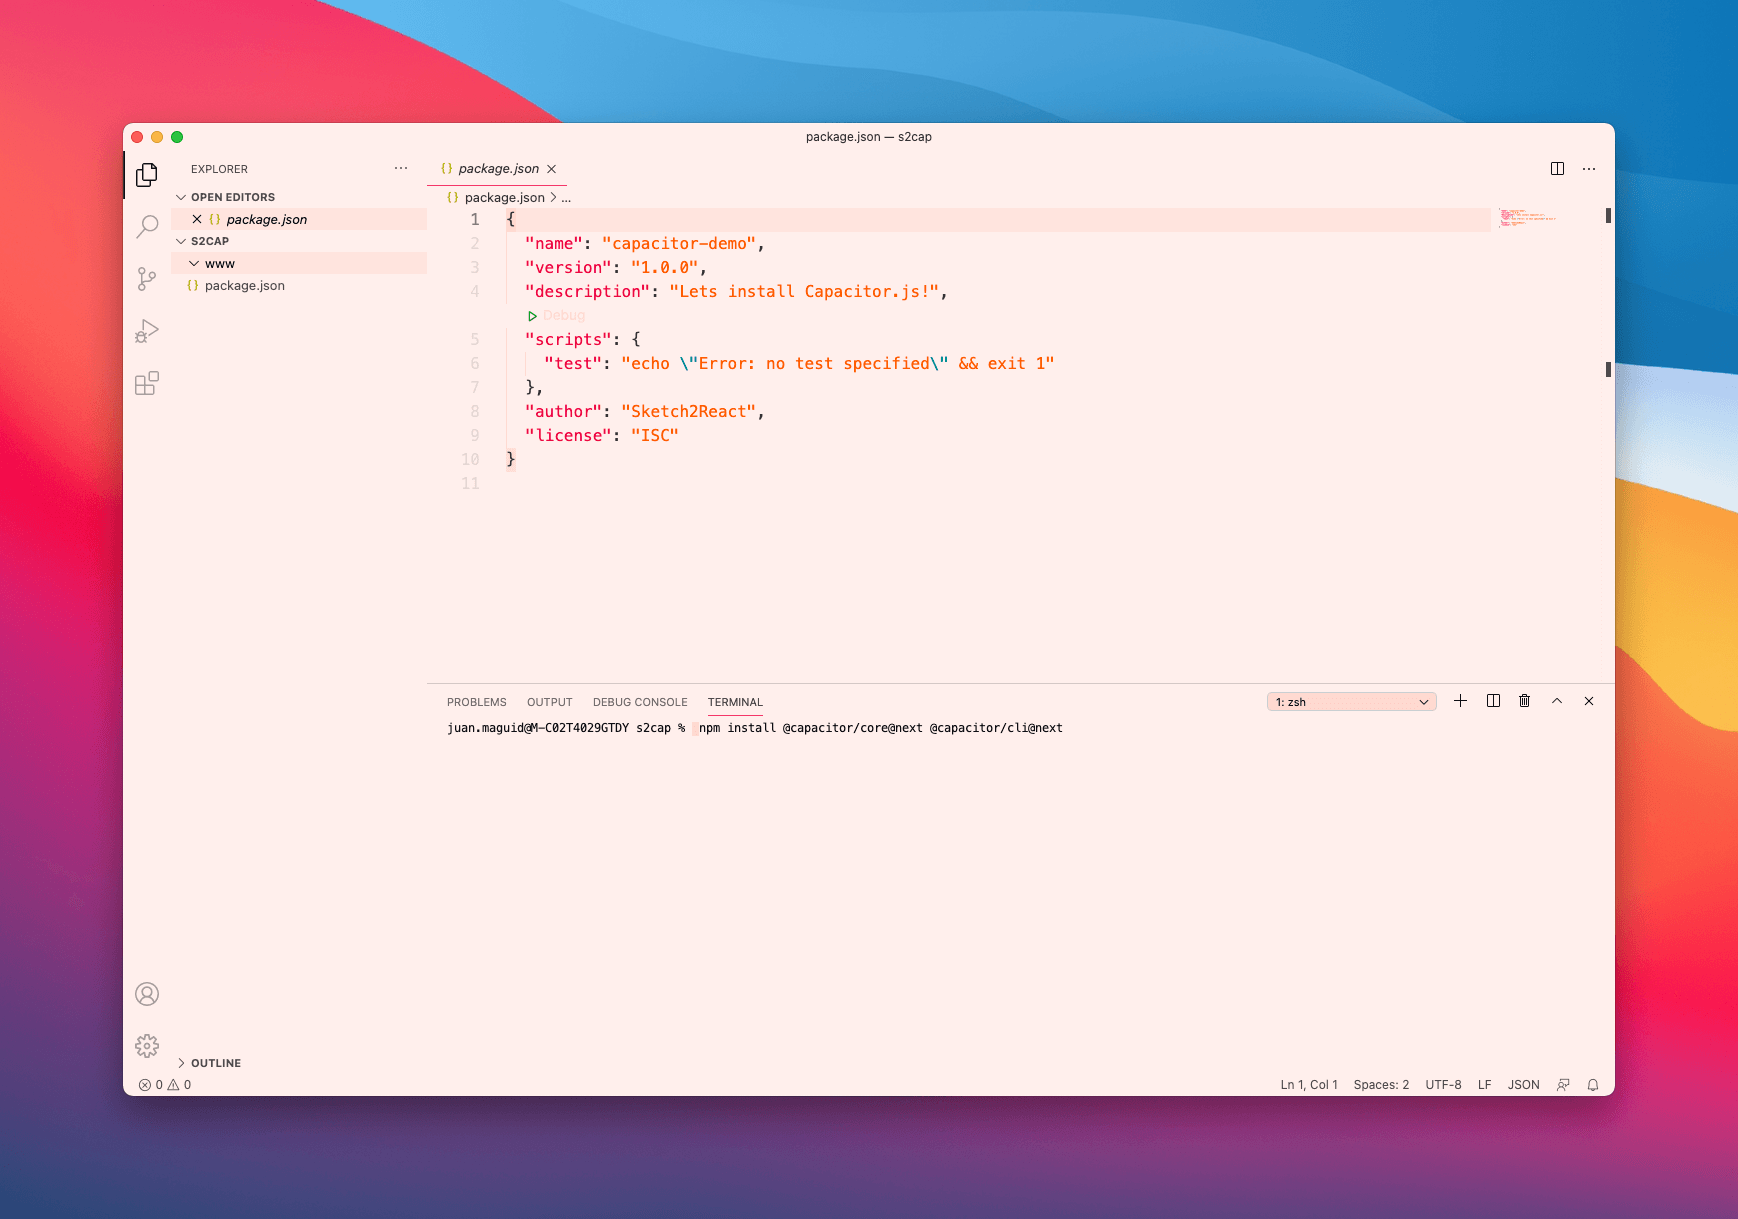
npm install @capacitor/core@next @capacitor/cli@next
Step 2 — Naming your app
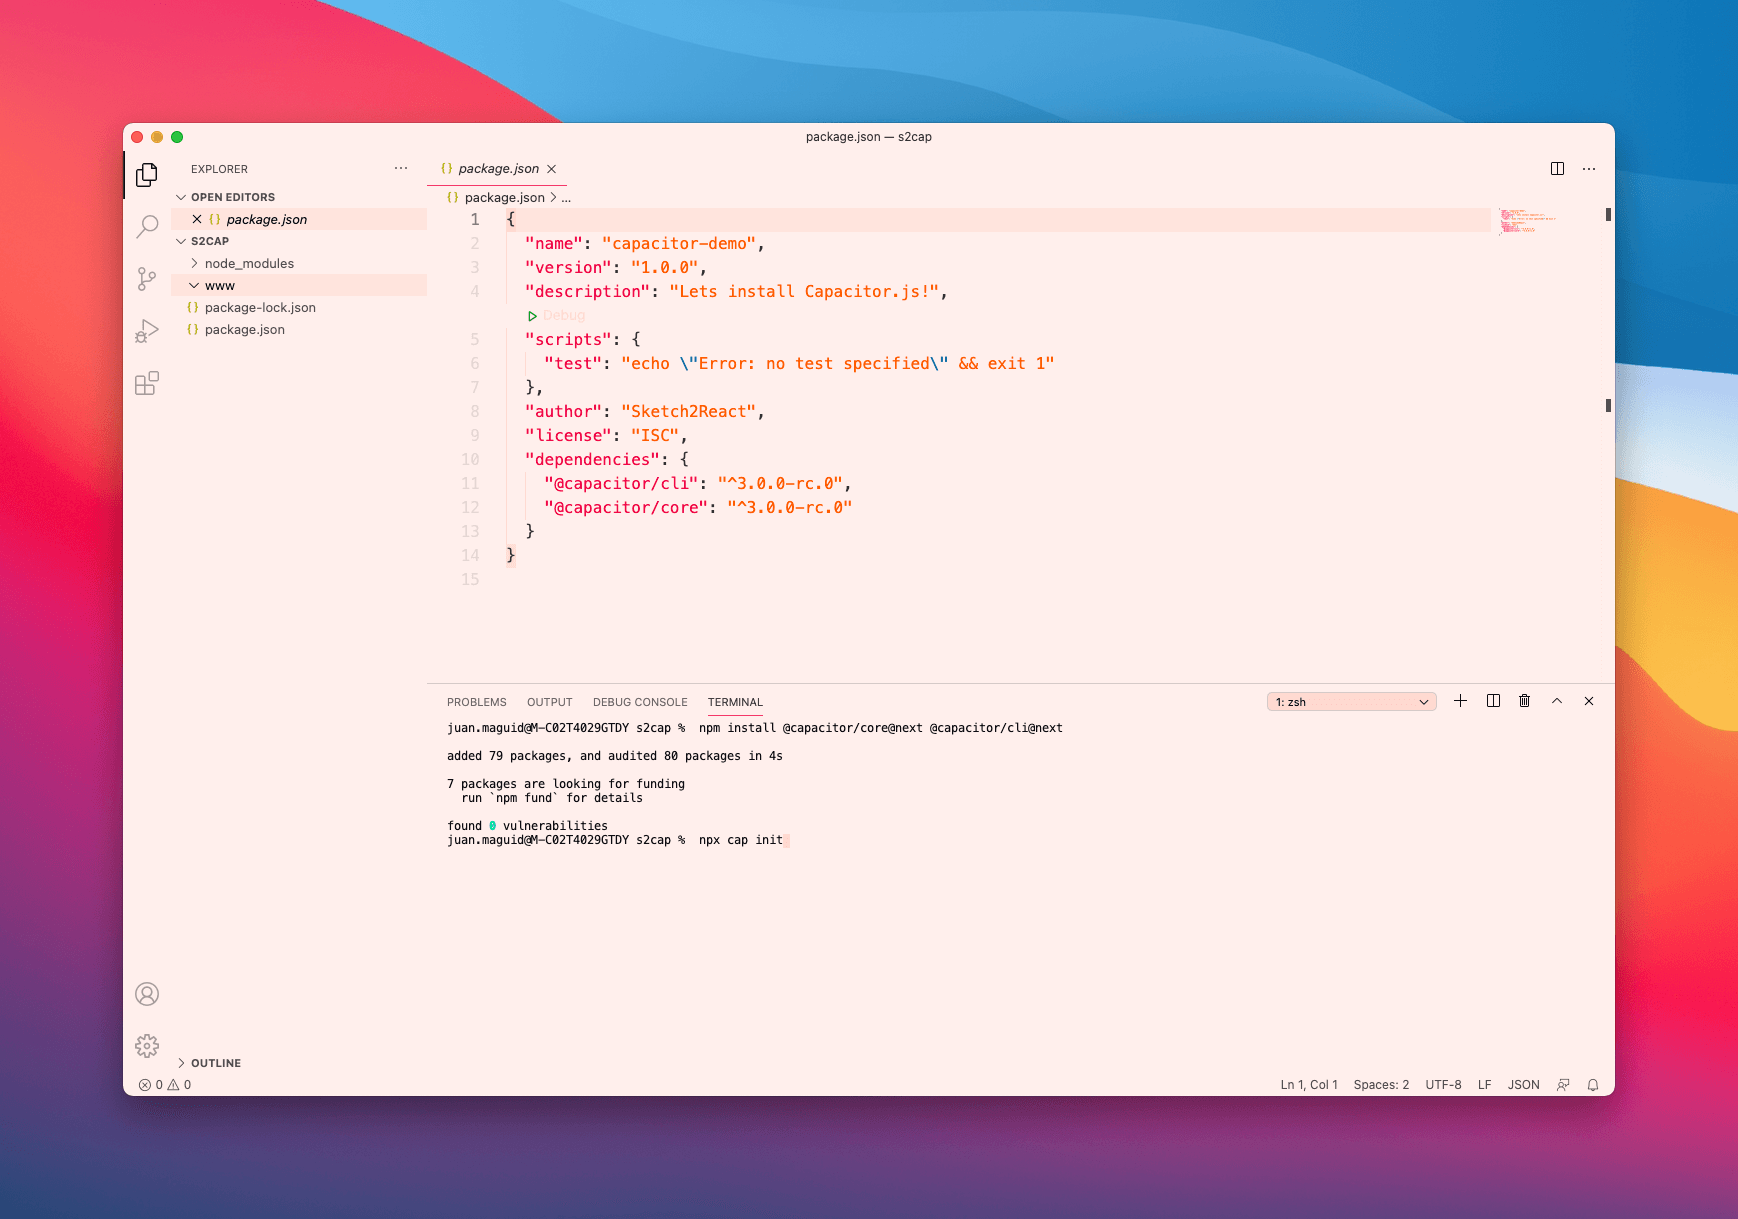
npx cap init
This will prompt you to name your app, in my case I called it s2cap since my imagination is very low this time a day.
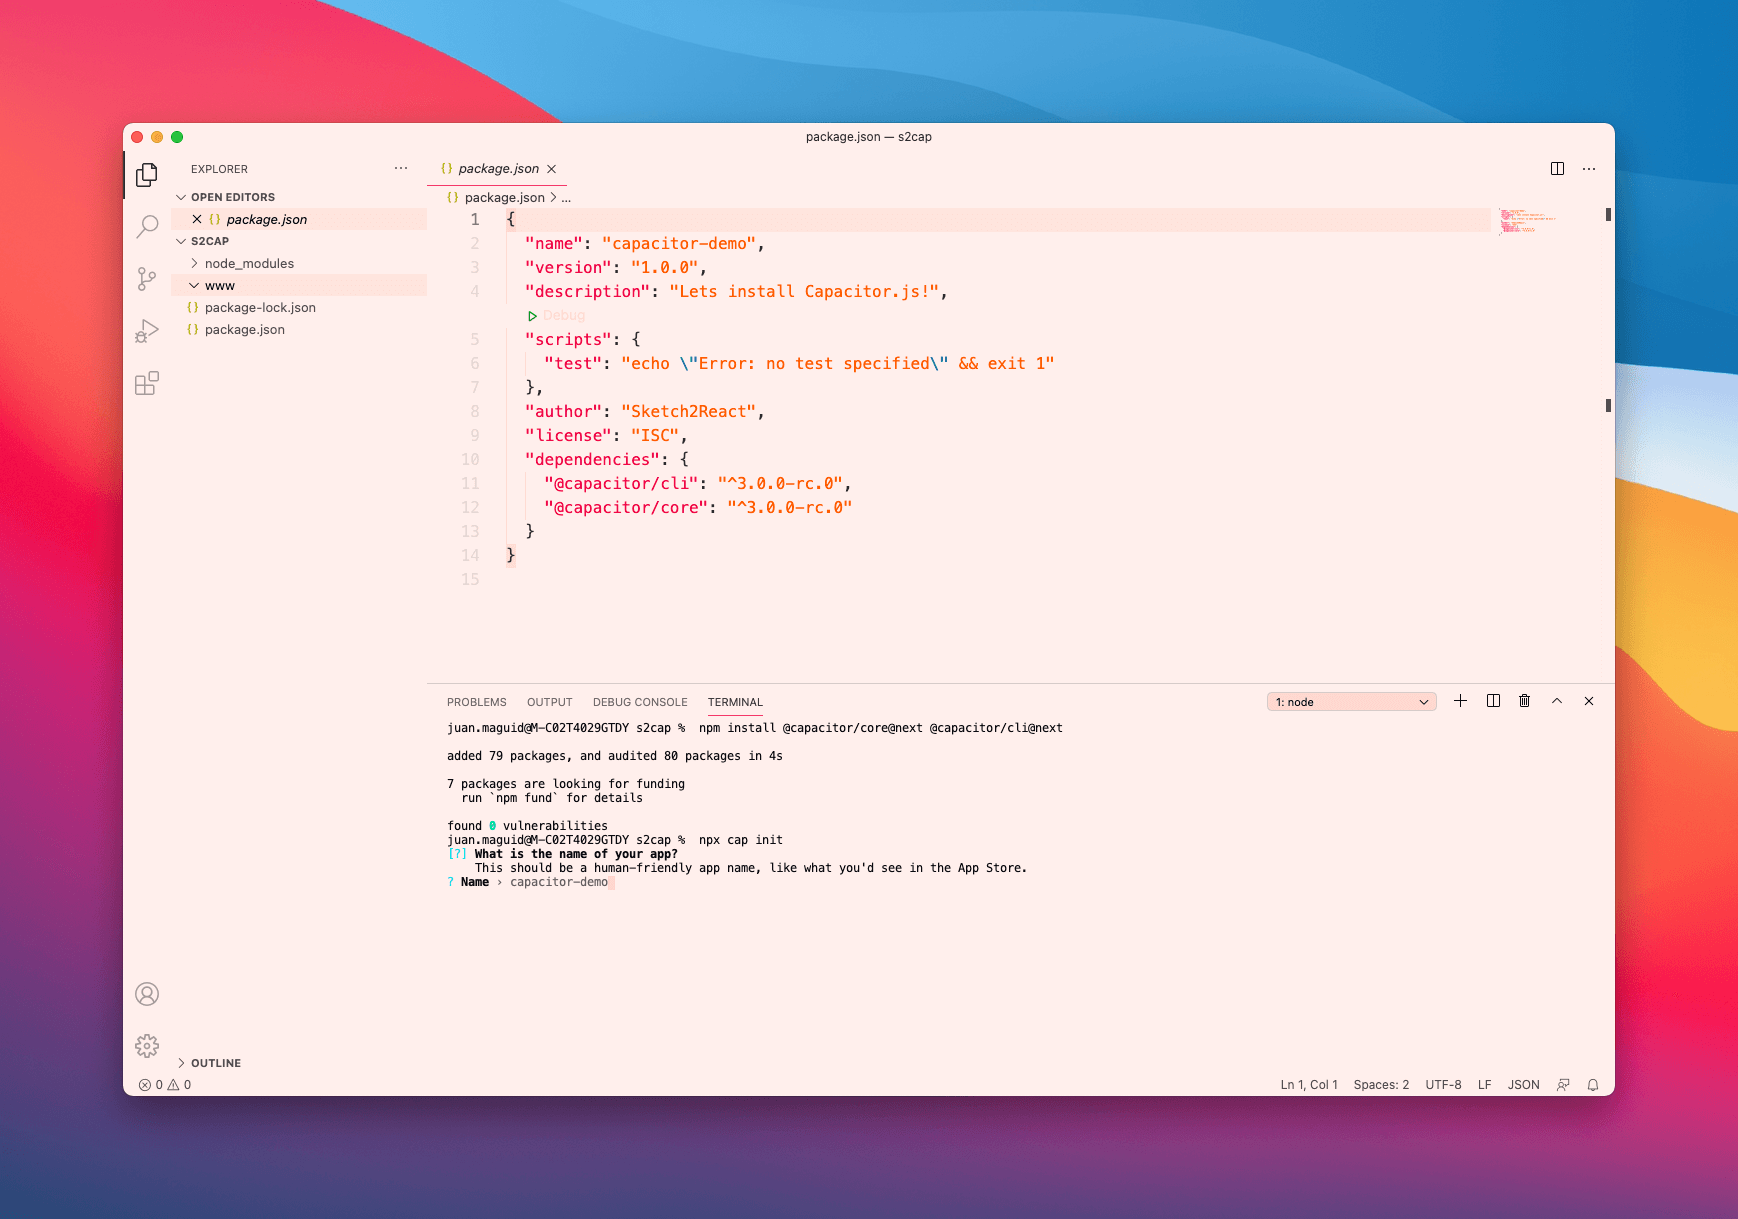
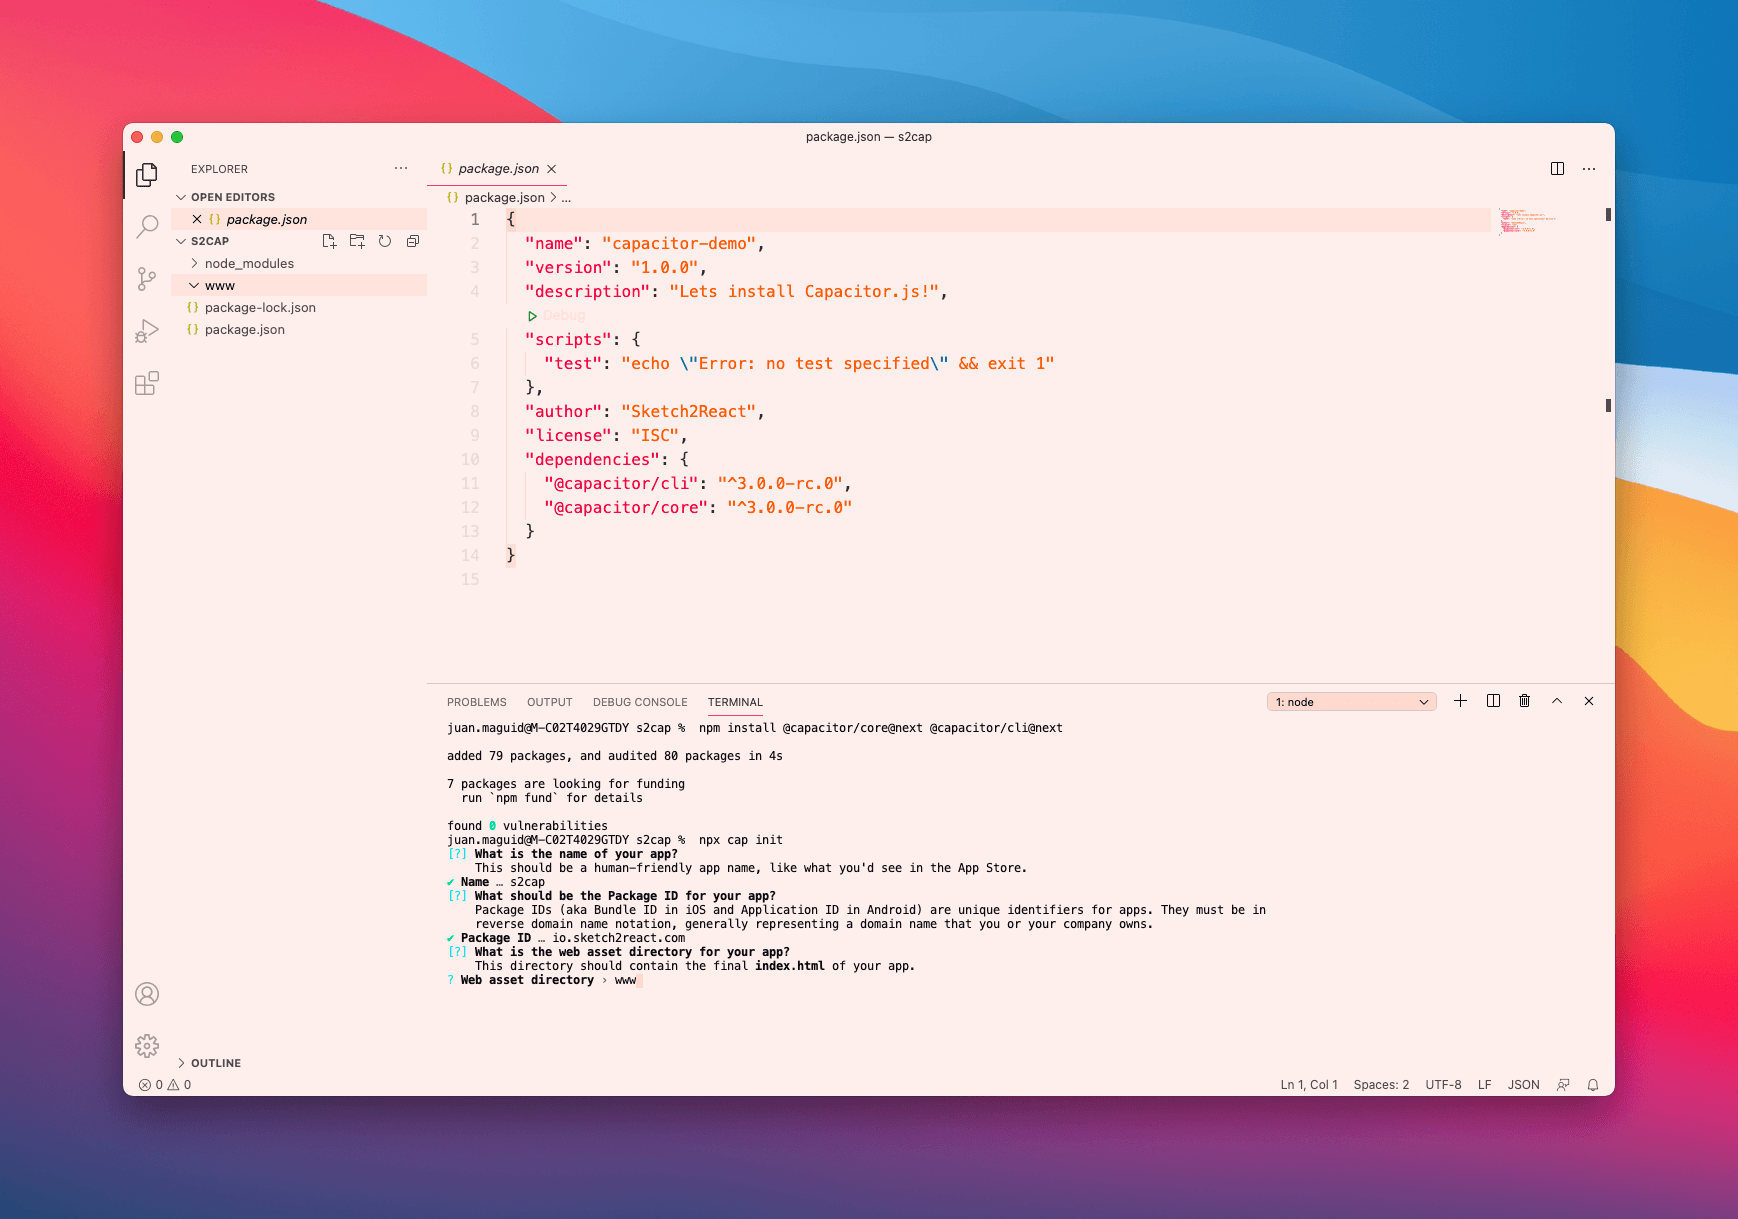
Step 3 — Adding your web directory
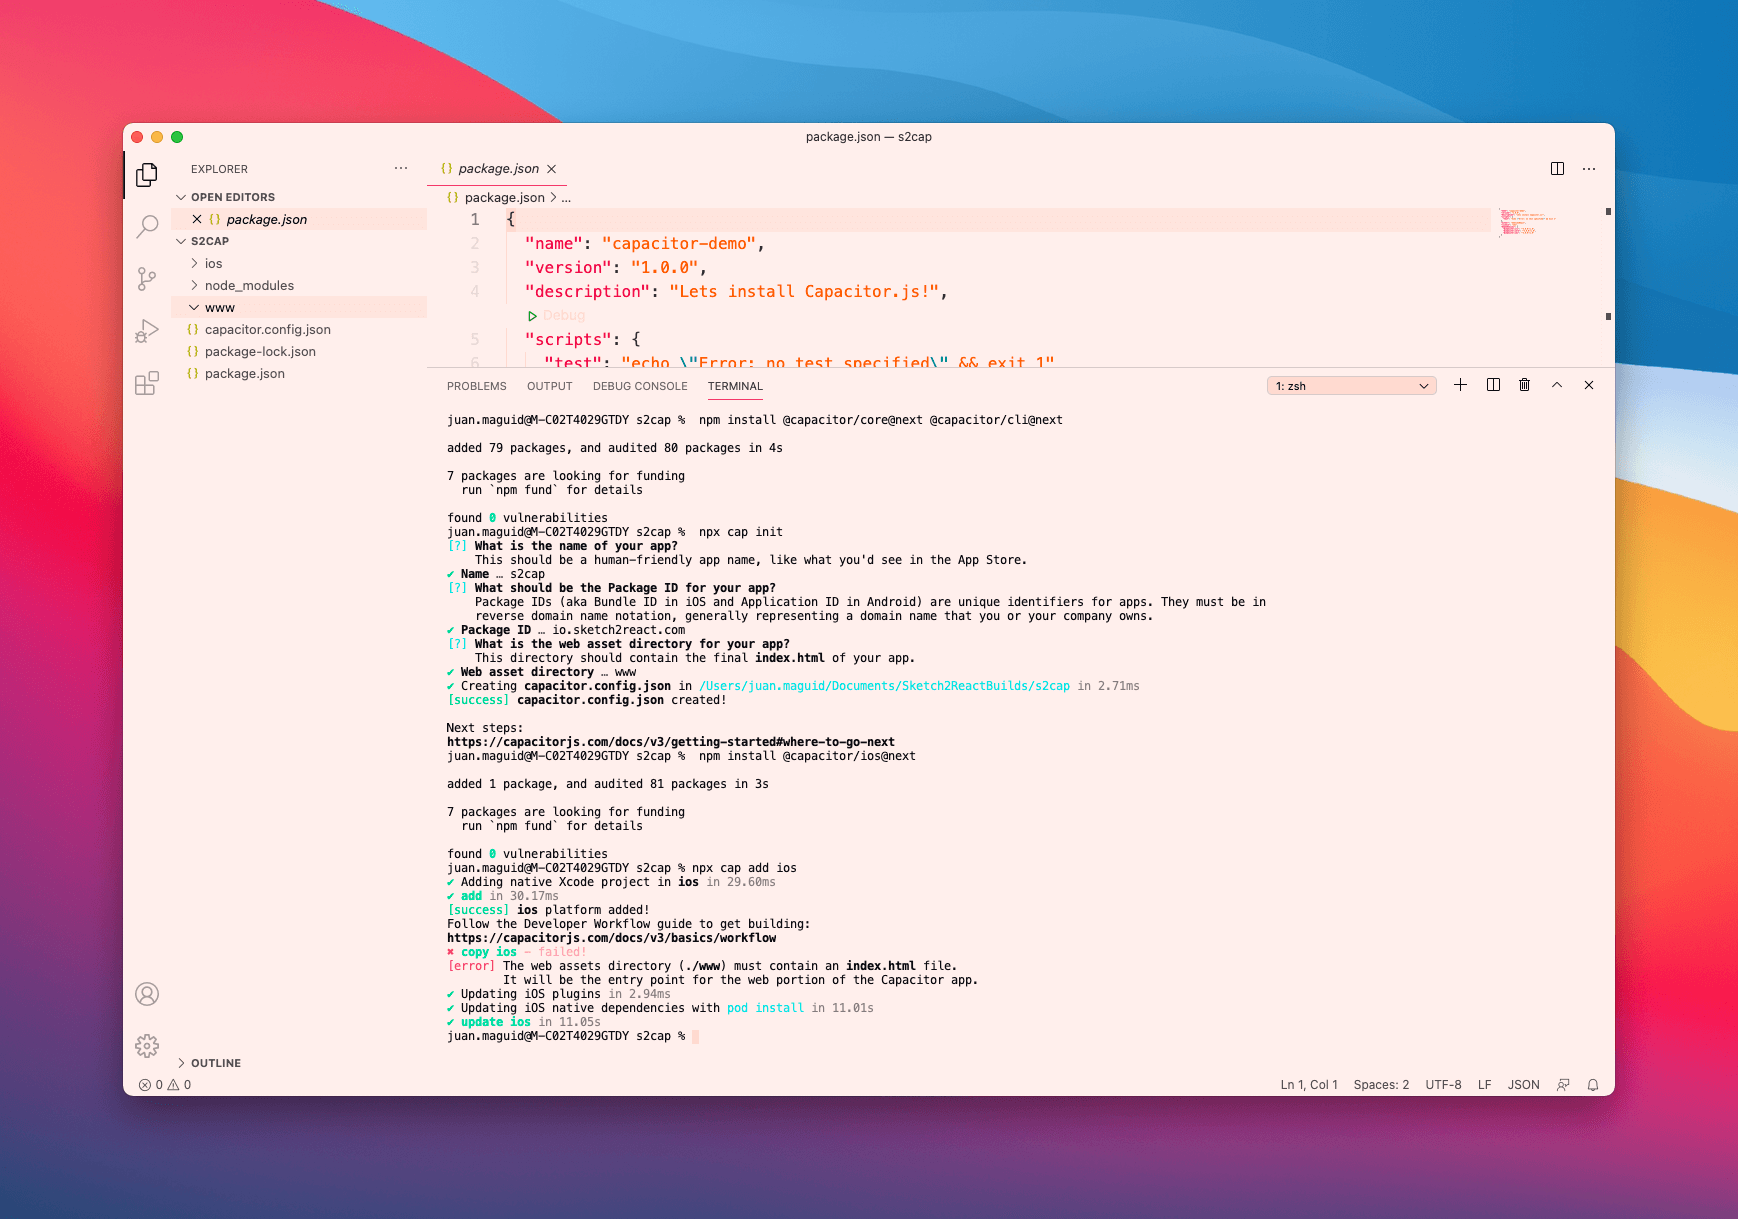
This makes sure Capacitor knows where to look for your Sketch2React HTML files. I actually forgot to add them (oooops) so I got an error message, but I took care of that afterwards.
Step 4 — Installing iOS project
This command installs a complete iOS project directly to your project, really magical.
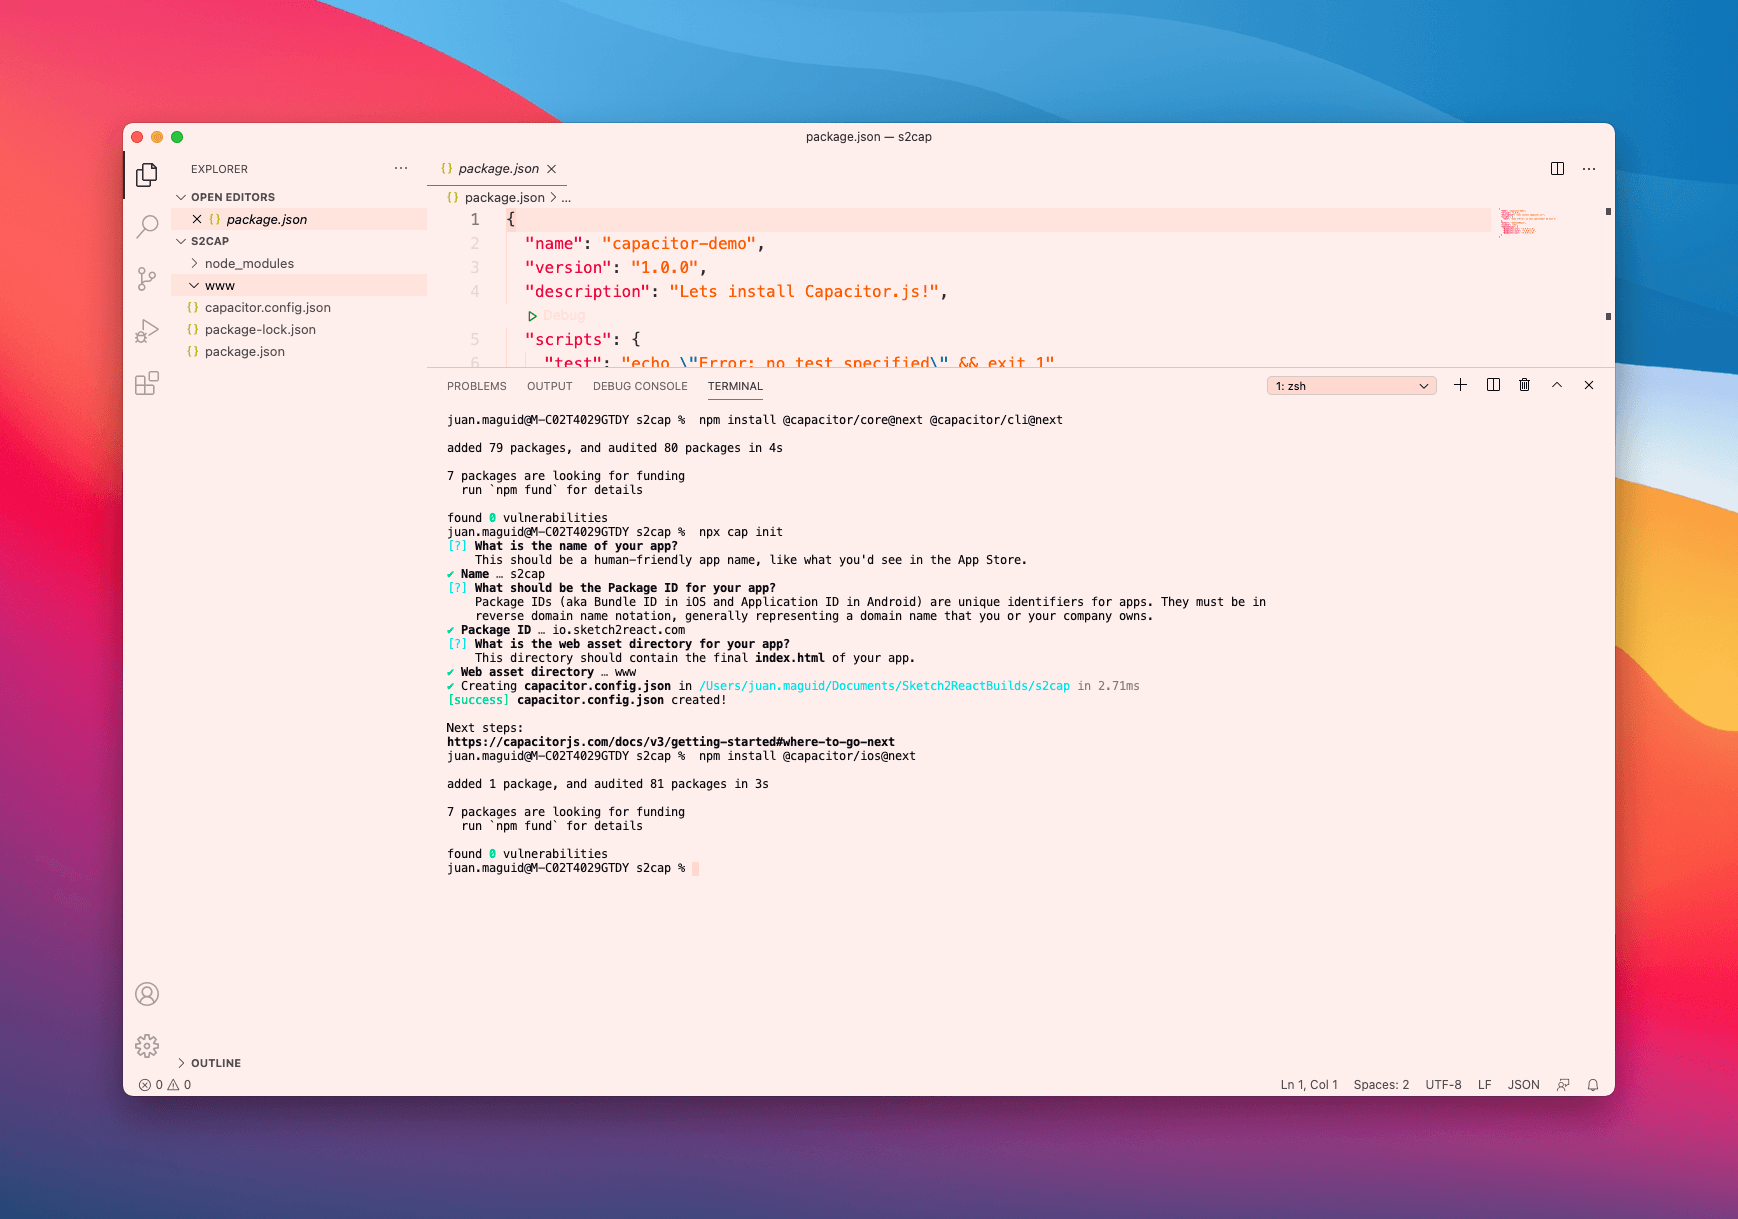
npm install @capacitor/ios@next
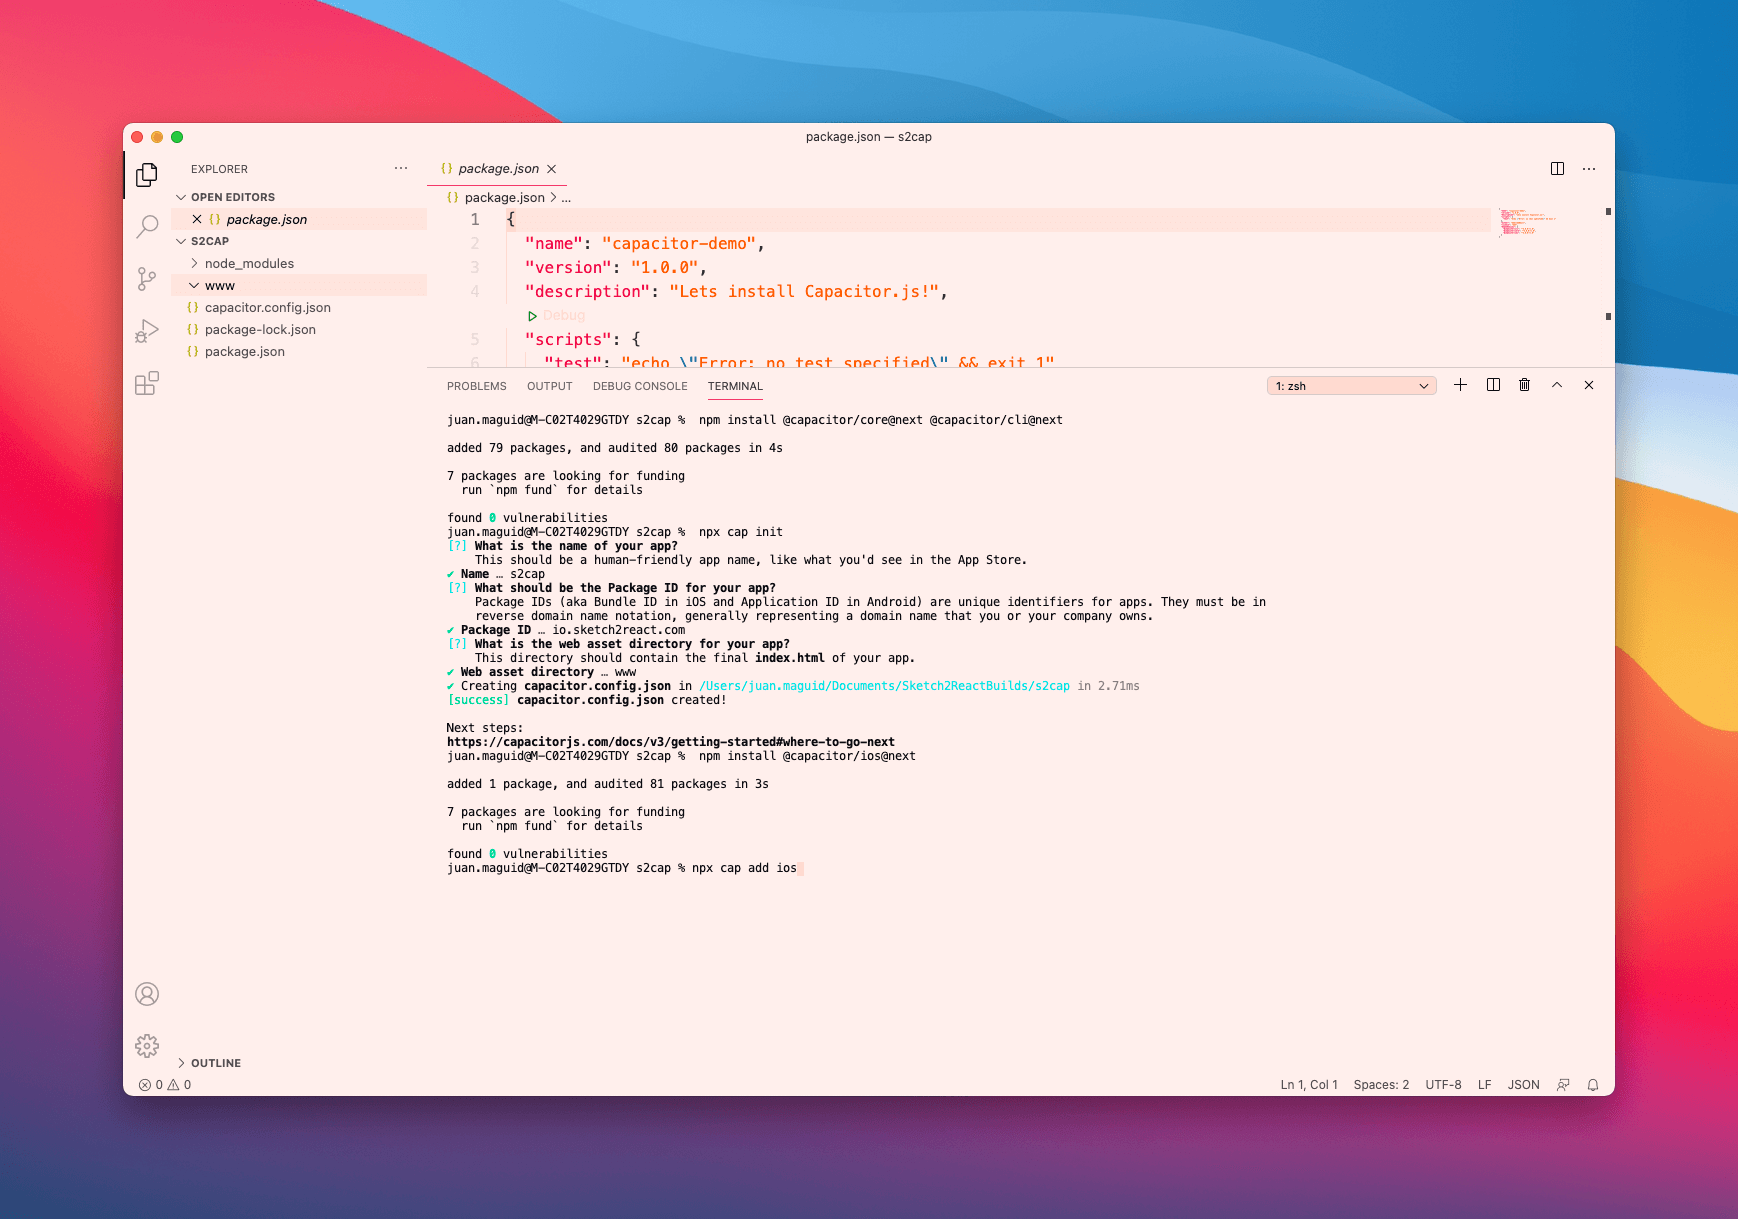
npx cap add ios
Here’s where I got that error telling me I had forgotten to actually add HTML files to my www folder.
Step 5 — Opening up the iOS project in Xcode
Since you are not as sloppy as I am, just enter this snippet below (my favorite part of this tutorial) and Capacitor will automatically open up Xcode for you.
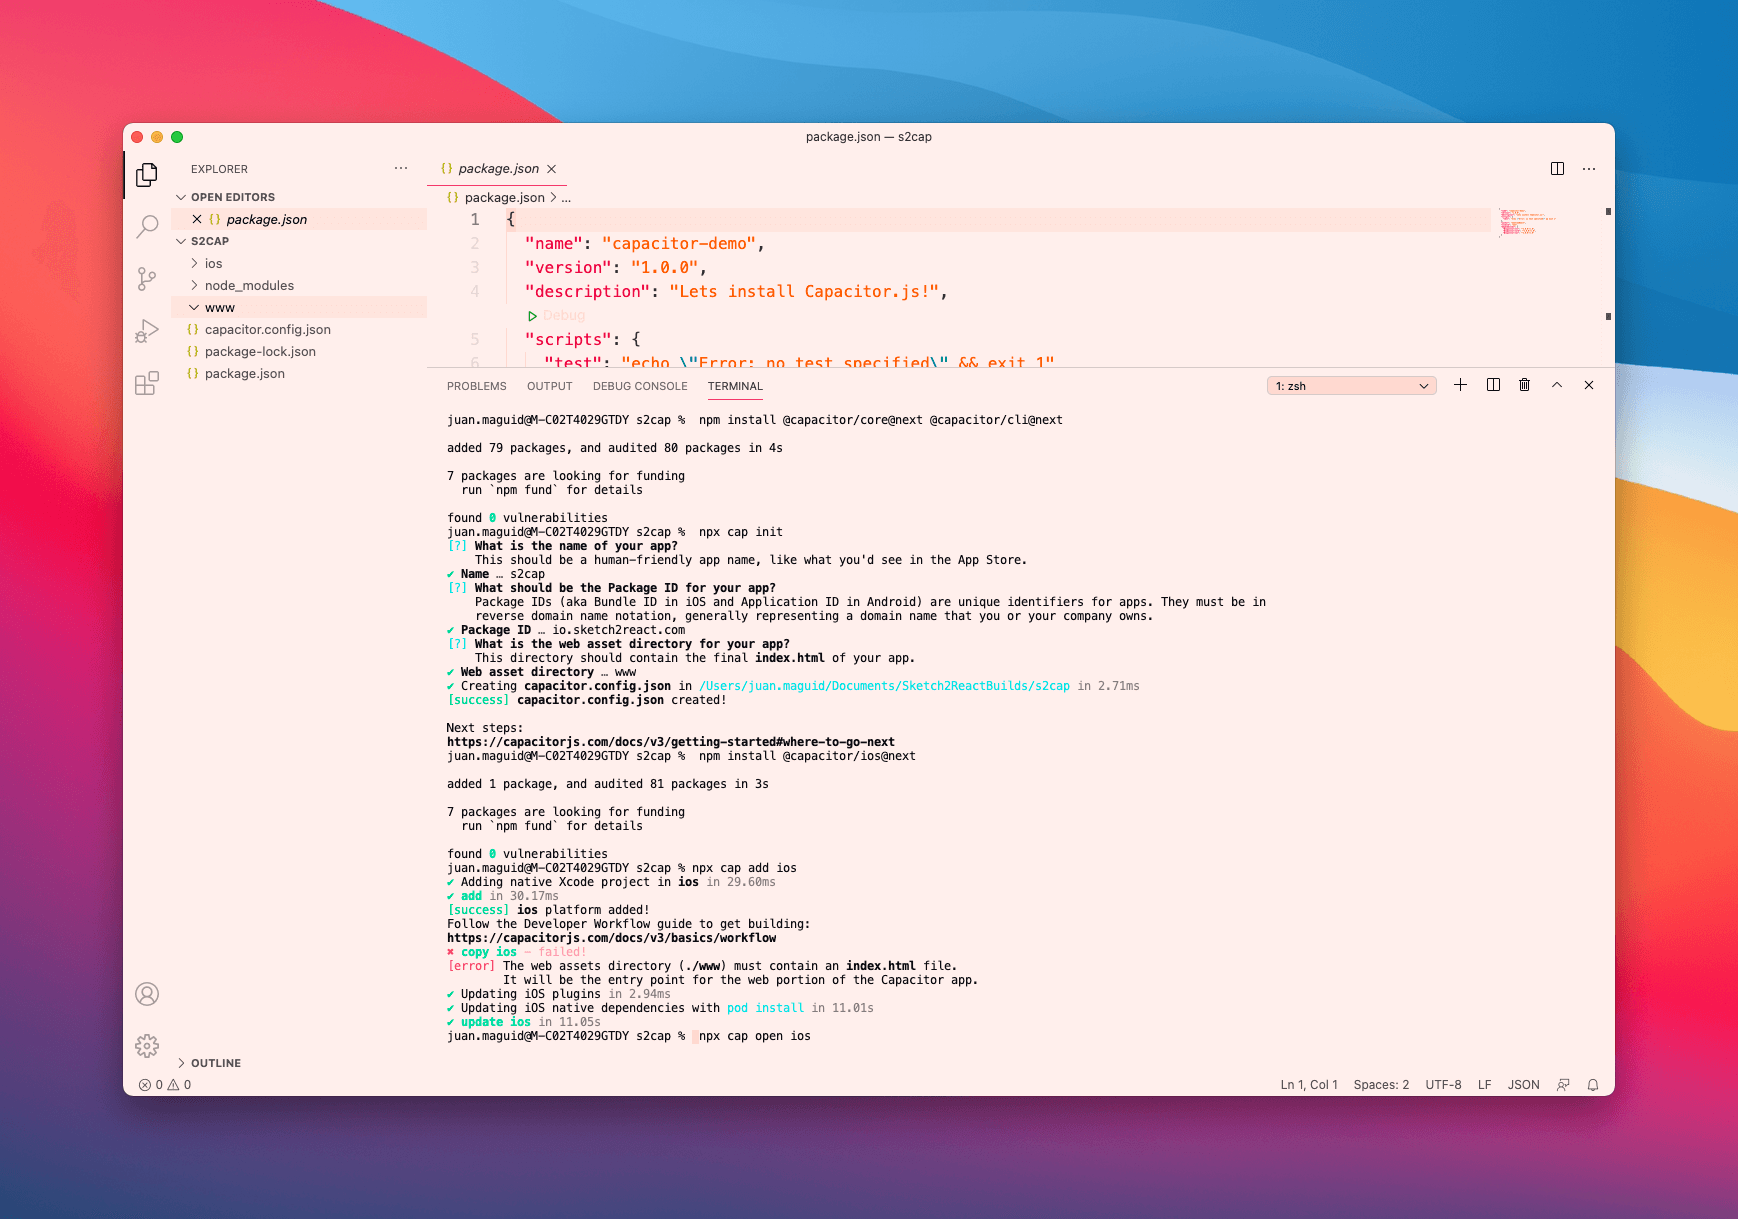
npx cap open ios

Step 6 — Fix those Xcode warnings

It’s critical to fix the errors that Xcode warns you about to be able to actually build the app. Great news is that most of them you fix just by double-clicking and letting Xcode do its thing.
Step 7 — Run the app!

You probably already did my previous tutorial, so I will assume that you have simulators installed in Xcode? Good for you.
Here’s a handy shortcut for running the app inside your chosen simulator: ⌘R
Updating your HTML
You will most likely update your HTML down the road.
For me, personally the best workflow is doing this directly inside Sketch app, exporting out again via Sketch2React and replacing the old HTML files with the new ones. Once you have done that you need to tell Capacitor and Xcode that things have changed, been updated.

npx cap copy
Run this prompt directly inside your project folder, go back to Xcode, stop the simulator and run it again, and you will see your changes in the app your building.
Like magic. Never gets old, trust me.
Epilogue
It’s remarkable when you realize that a design decision taken from Team Sketch2React more than 2 years back in time, still works extremely well. We didn’t even know what Cordova or Capacitor was back then. Actually Capacitor is really new, first version came late 2019 by the mighty Ionic framework team.
For me, personally I have finally found a way to build iOS apps, something that I have dreamed about for a very long time. If someone had told me back in 2012 when I started designing apps using Photoshop, that one day I would use my software combined with other incredibly tools to actually build real ones, I would have laughed very hard.
Now that dream has come true.
What comes next?
I’ll be continuing to push this concept forward. My goal is to build my next personal portfolio as an app for iPhone and iPad and finally, further down the road, release it as a free download on the App Store. I’ve experimented inside Xcode a bit more and managed, after failing a million times, to accomplish what you see below. Gotta start somewhere right?
