

From time to time, something pops up that makes me go ”Hmm wait a minute, this is fascinating, will this work, I wonder?”… Today that happened again.
Just browsing through newly added Setapp apps (a service I can’t live without nowadays) I stumbled into Wunderbucket. I guess the headline got my attention, ”Turn folders into websites”…

That seems familiar, doesn’t it? Yes, back over a year ago I did a tutorial on how to use the exported HTML from Sketch2React together with a service for Dropbox called DropPages. A bit of a hurdle to set up, but just looking at the number of people that clicked on my tutorial, it clearly was something that got people’s attention. Well, I got good news for all of you happy clickers and readers, Wunderbucket is even greater!
Wunderful
You know, writing these tutorials takes time, and I’ve come up with an internal judging system that goes something like this:
- Is it worth spending precious time exploring this?
- Will others benefit from this?
- Is it useful, will it make designers lives easier, and more fun?
- Am I having fun writing this?
- Can this be used together with our apps?
When I check green on all these criteria’s inside my often confused mind, I just go for it. So here we go!
Tutorial requirements
- Sketch2React 2021 Beta with a paid license (accessing our HTML export in the beta requires full access to our beta program)
- Wunderbucket app (use the free plan)
- Icons8 Lunacy or Sketch
- Setapp subscription (optional)
- You can use this .sketch file for Lunacy and this one for Sketch
Why two different .sketch files?


Sometimes in my tests using both Lunacy and Sketch together with Sketch2React I have noticed that when I go from Sketch to Lunacy and then back to Sketch again, certain visual bugs appears. Nothing that shows inside our app, but still, the designer in my finds this very annoying.
So to keep this tutorial neat and nice (yes I say that ALOT) lets just go with this workflow.
How to export correctly
Turns out, Wunderbucket works really excellent with any HTML structure, basically you turn your locally exported folder into a local host automatically. No need to use Visual Studio Code or any other editor, it really is simple. Awesome stuff and well done team Wunderbucket!
In Sketch2React
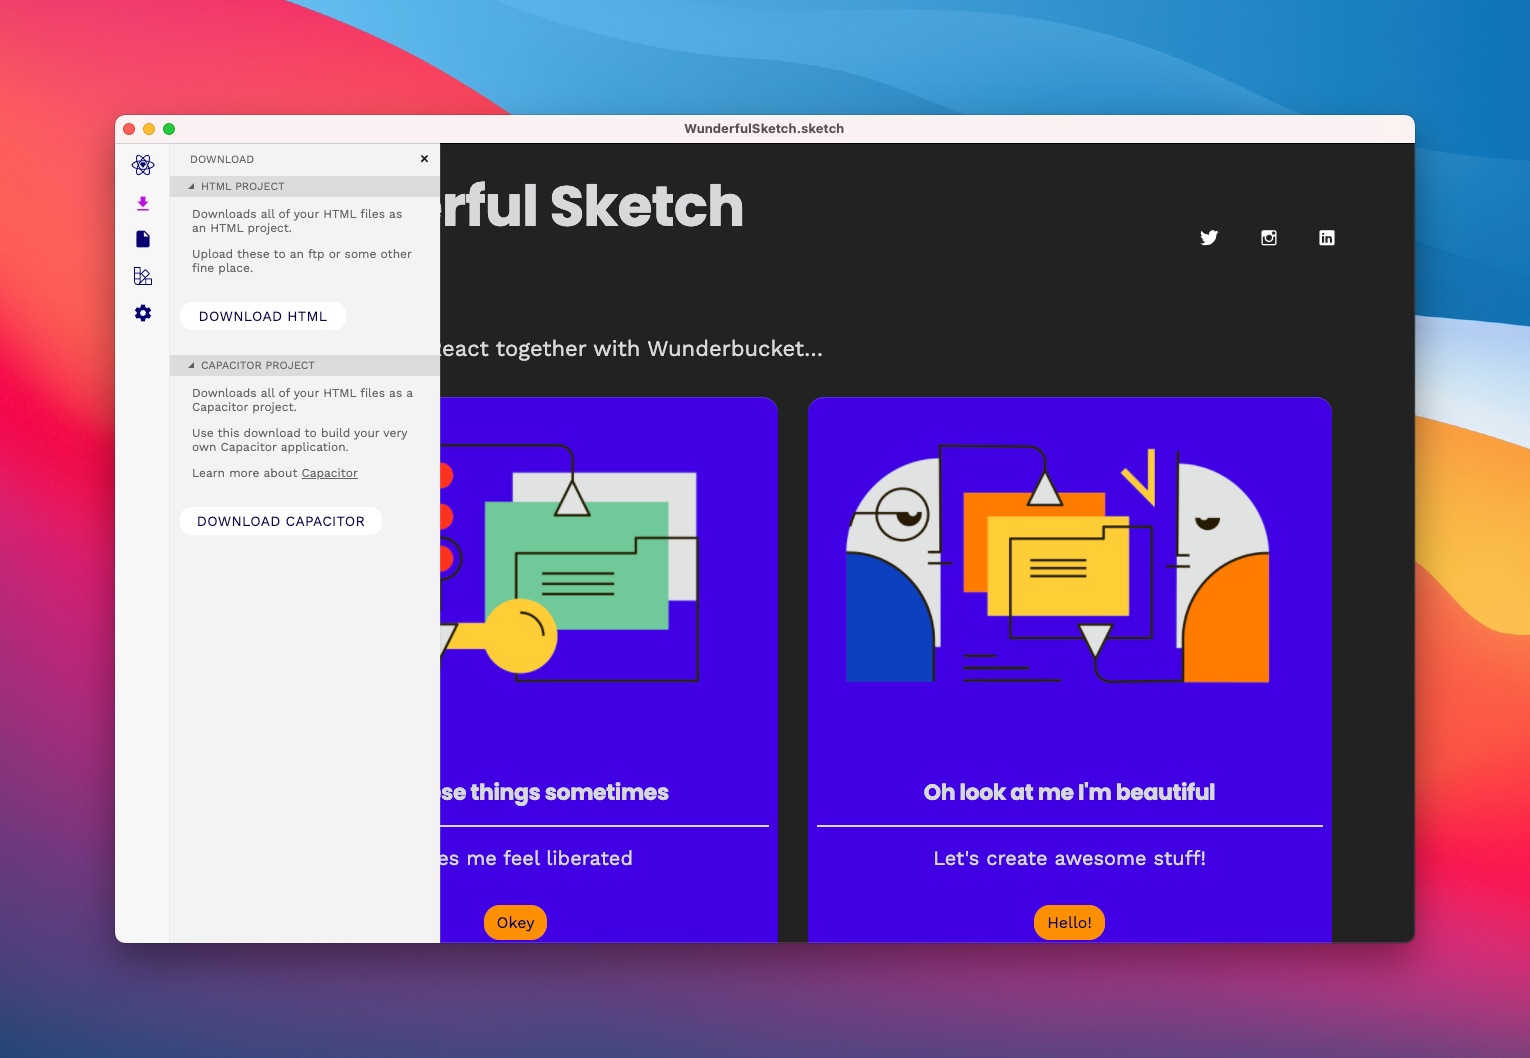
- First, make sure you have visited all the artboards inside Sketch2React that you want to include in our HTML bundle export
- Go to Download and choose Download HTML
- Go to the location on your HD where you saved our export, unzip the folder
In Wunderbucket
Wunderbucket adds itself to the macOS menu bar, make sure you have it installed and opened.

- Press New Site
- Give your site a silly name
- Under Local folder, browse to your unzipped Sketch2React exported HTML folder
- Leave Pick a template as it is (Blank) and press Create site
- Done!
You now have two options. Either you press on the link called local host (which I didn’t do in the video below, which got me perplexed) or you wait until Wunderbucket realizes that you have something to upload.
So basically
- Local host is the locally setup HTML server provided by Wunderbucket, the place you probably will want to look at first to make sure everything looks spectacular
- Once you have uploaded your site, press the link containing the name that you gave it, and you’ll see your live site
- Easy-peasy done!
You can do a couple of more things with Wunderbucket, but basically, I’m feeling really lazy, so go ahead, explore on adventurers.
Here’s the final build uploaded to Wunderbucket.
Juan over and out.